Hey Everyone,
Long time since I last posted about the Total Nuclear Annihilation machine. No worries, I am still working on it like crazy. This update is going to be kinda fun since I took a bunch of pictures and screenshots along the way.
First off, the v3 playfield ended up having an issue where an inserts was way too large and I had to re-cut the entire thing as I did not notice it until after the playfield was done. I quickly corrected the issue and started cutting v3.1!!!
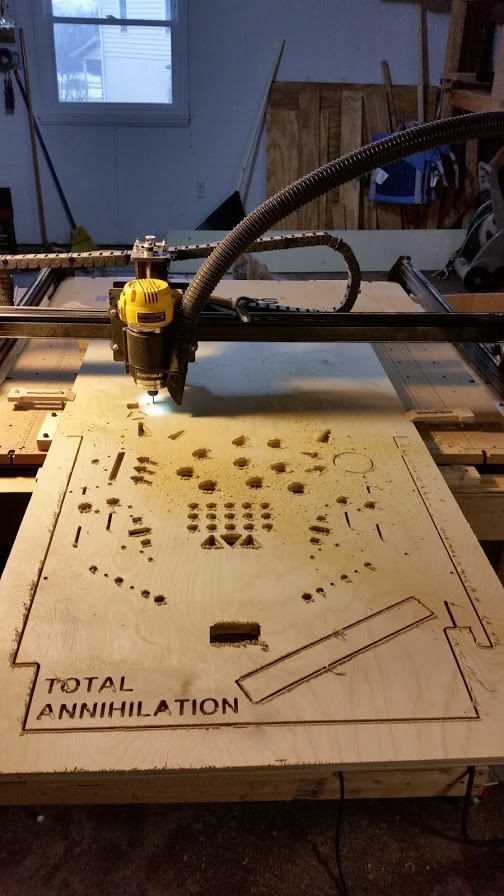
Version 3.1 of the TA playfield being cut
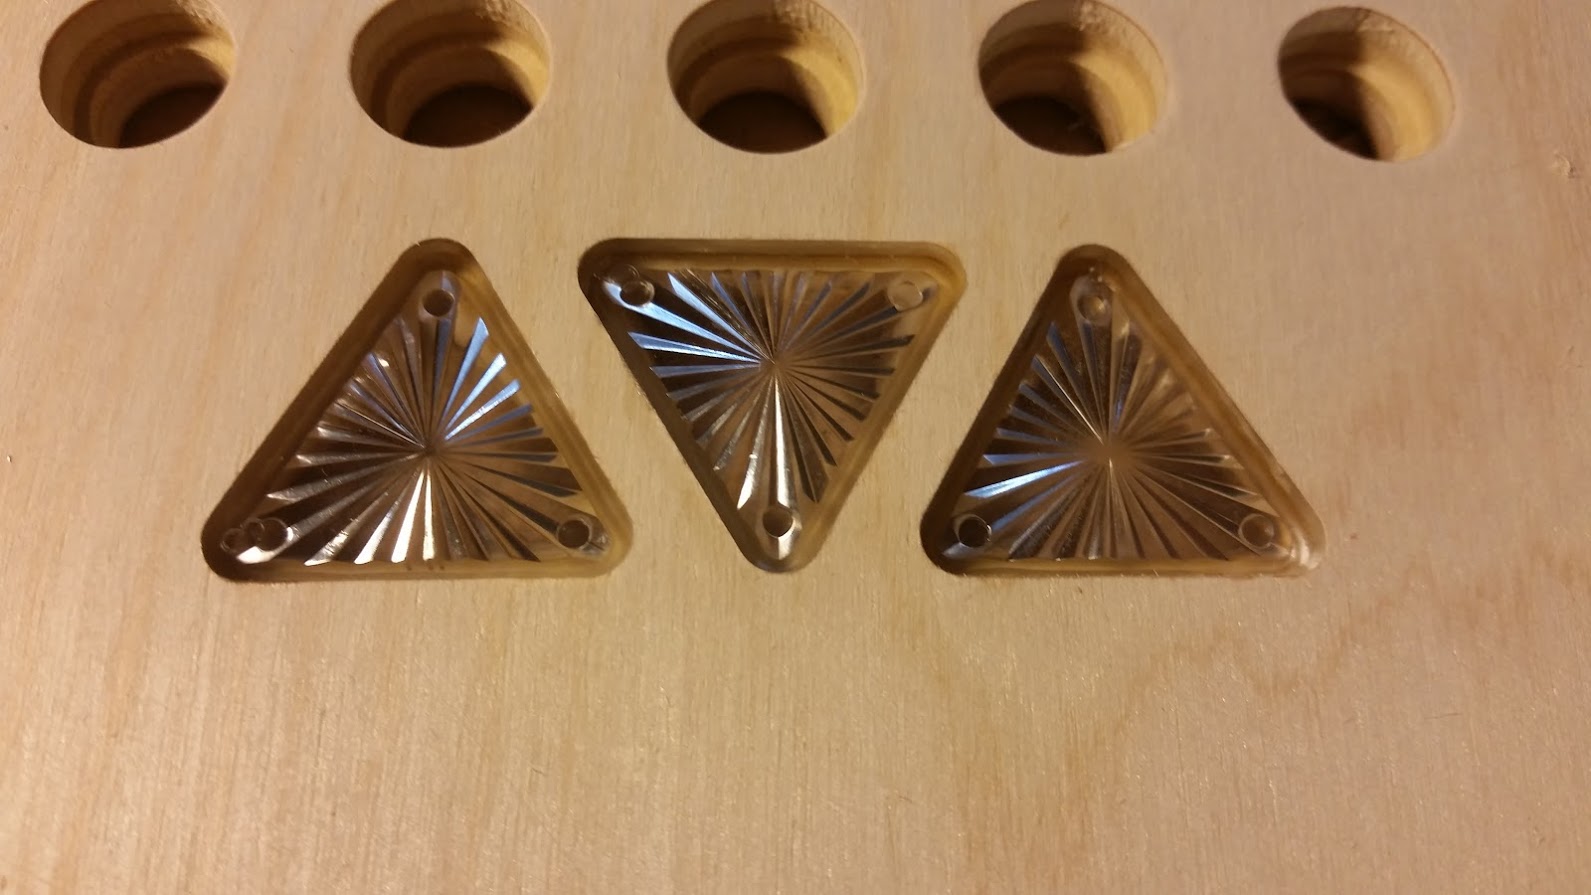
After this playfield was cut and I verified all was well with the inserts, I started populating them staring with the bonus multiplier triangles. The glue that I used to secure these inserts is a clear 5 minute 2-part epoxy. These inserts are in for life!

Bonus multiplier inserts are in!
Below is a picture I took after I got ALL the inserts in place and hand sanded the playfield flat. It was much more physical labor than anticipated…
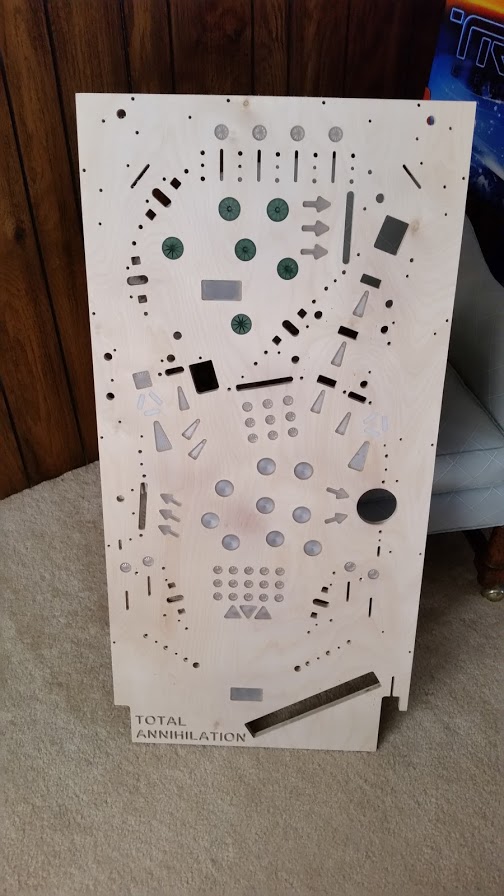
Sanded TA Playfield
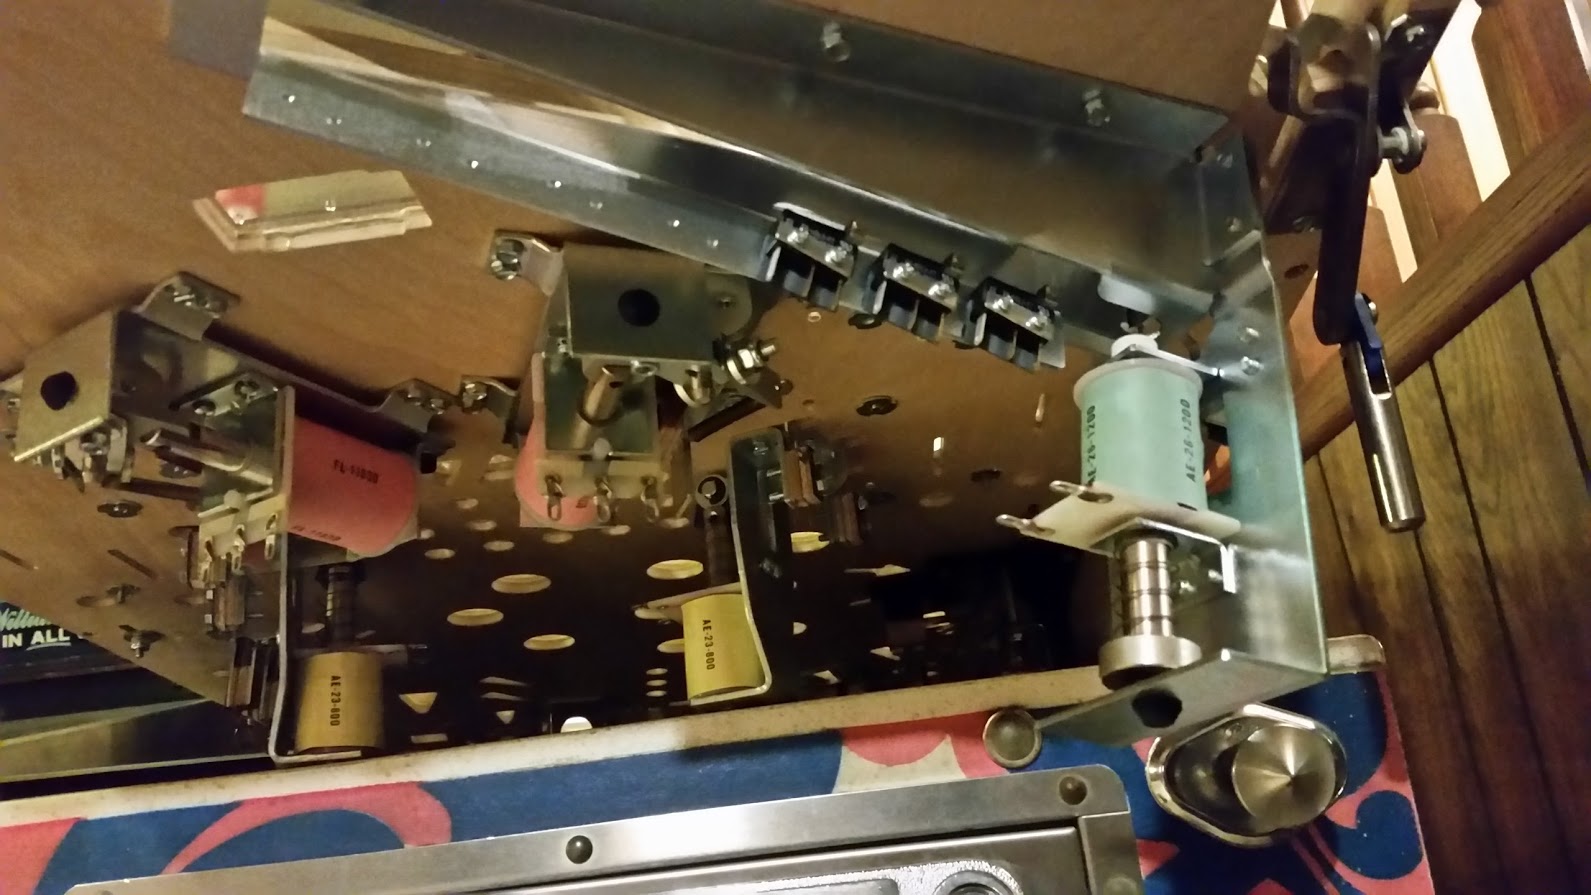
Well after that, you can probably guess that I had to do an entire playfield swap from the v2 playfield that was sitting in my cabinet. 🙂
Here is a look at the playfield as it sat right after the main assembly swap!
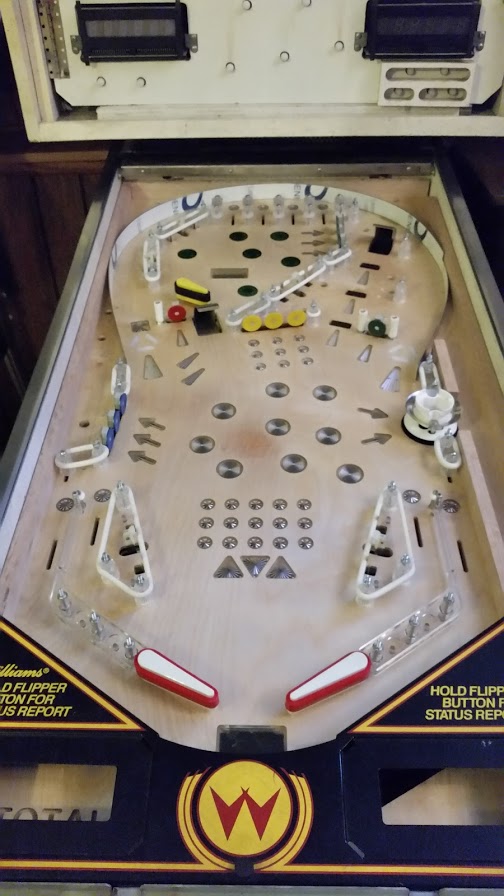
v3.1 playfield in!!!
For the GI, I ended up using light pipes that I will put VERY bright LEDs under. My initial testing has shown that they spread the light very evenly. These are similar to how TBL will be handling the GI in tight places.
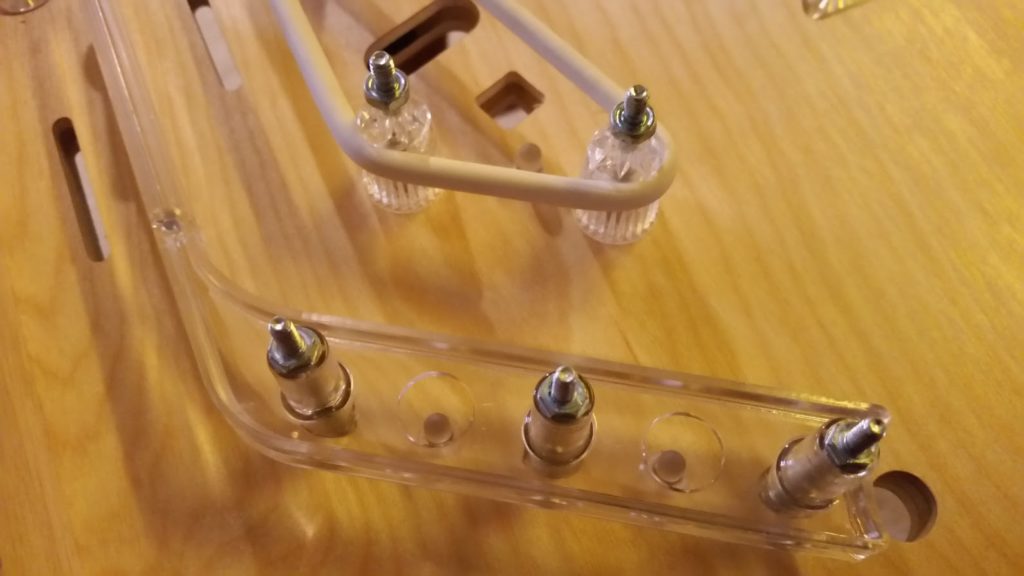
Light Pipes
I ended up designing a small RGB board that fits in the bottom of my pop bumper assembly. These LEDs are bright as hell. Check out the image below to see how it fits!
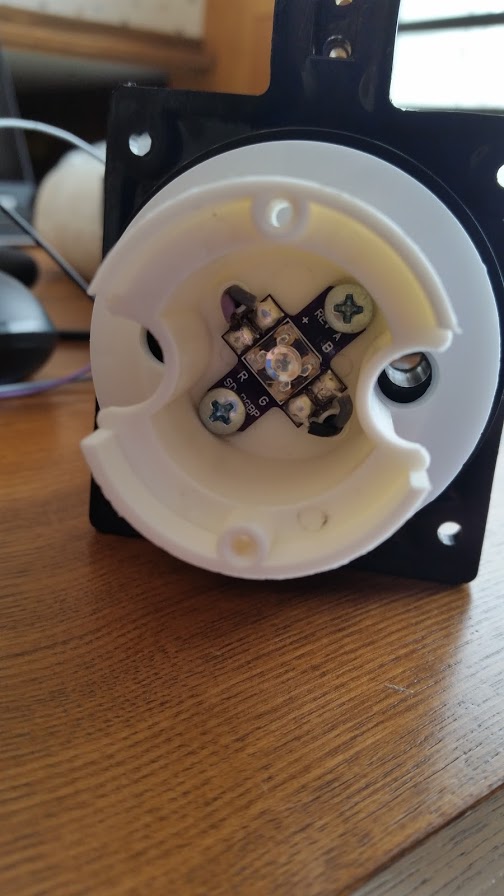
RGB Pop Bumper
So here is the most important part to any playfield, the trough. This is the new Pinball Life lower and upper trough. I configured it for 4 balls. This trough will be released by PBL very soon.

PBL Upper Trough

PBL Lower Trough
PBL Trough Exit
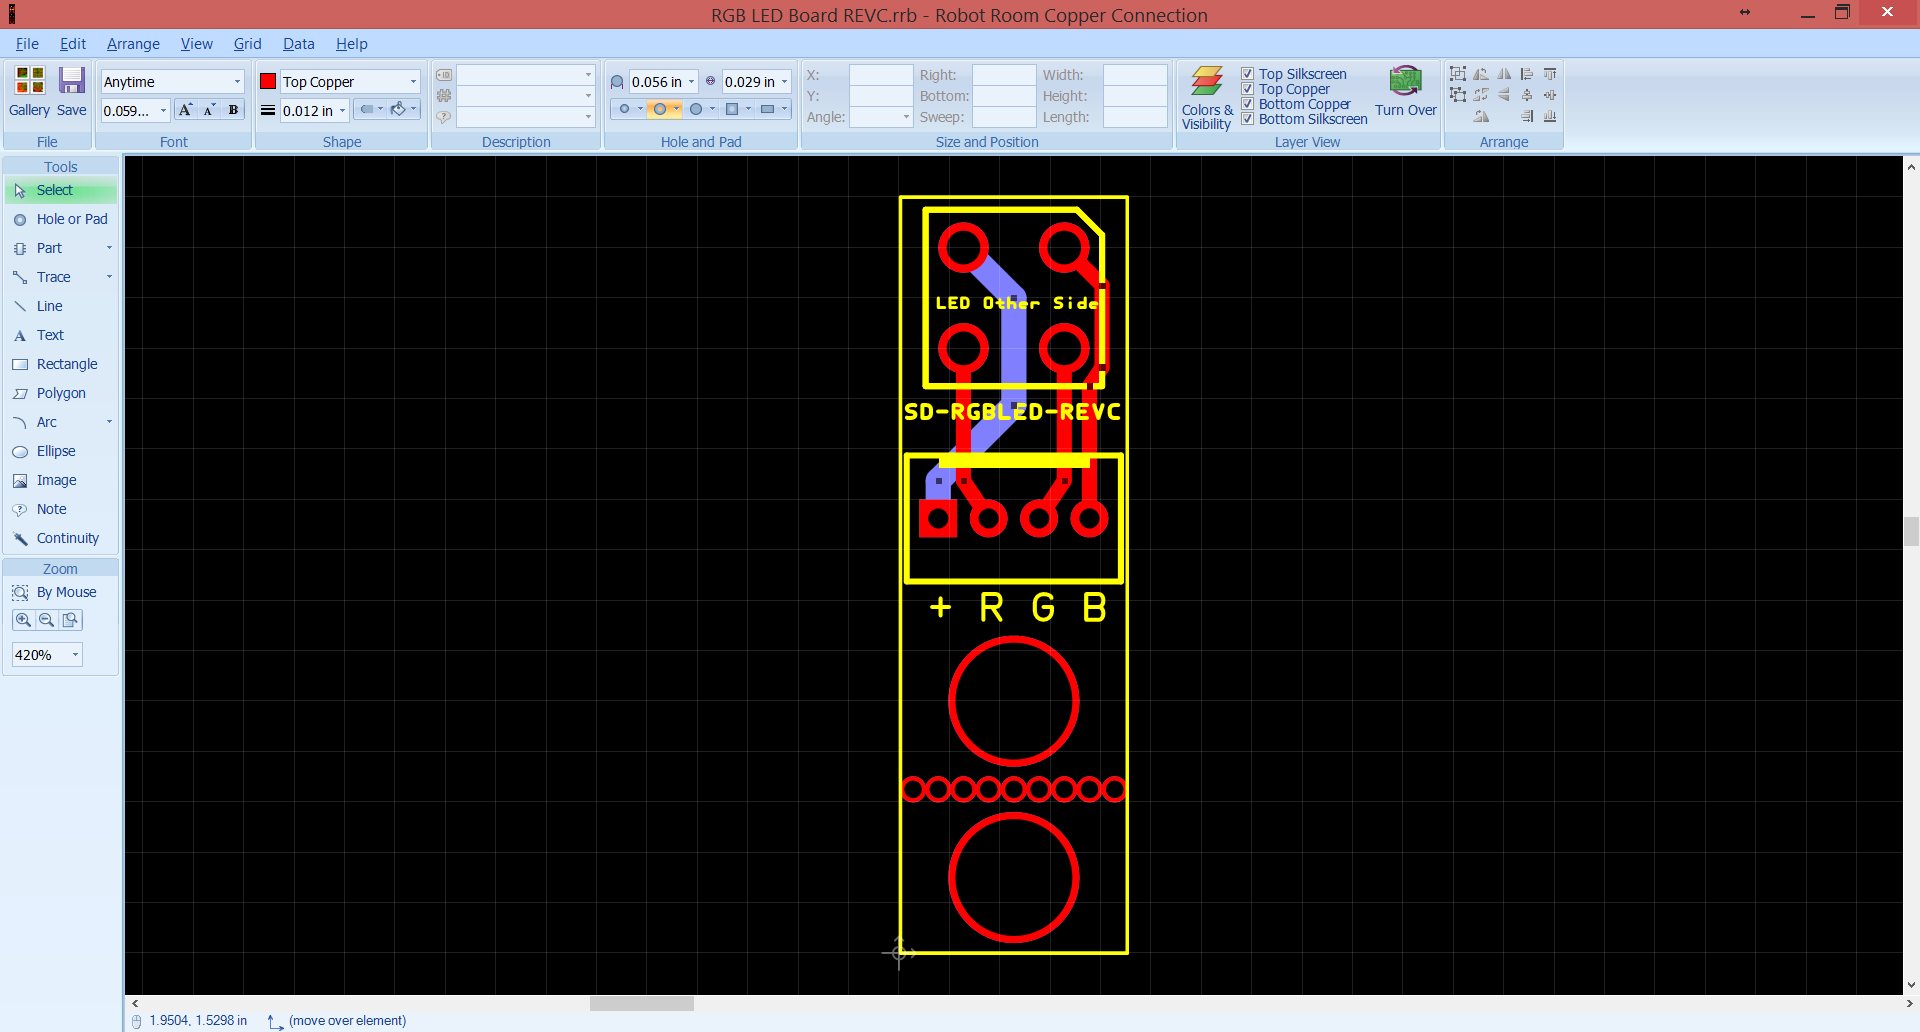
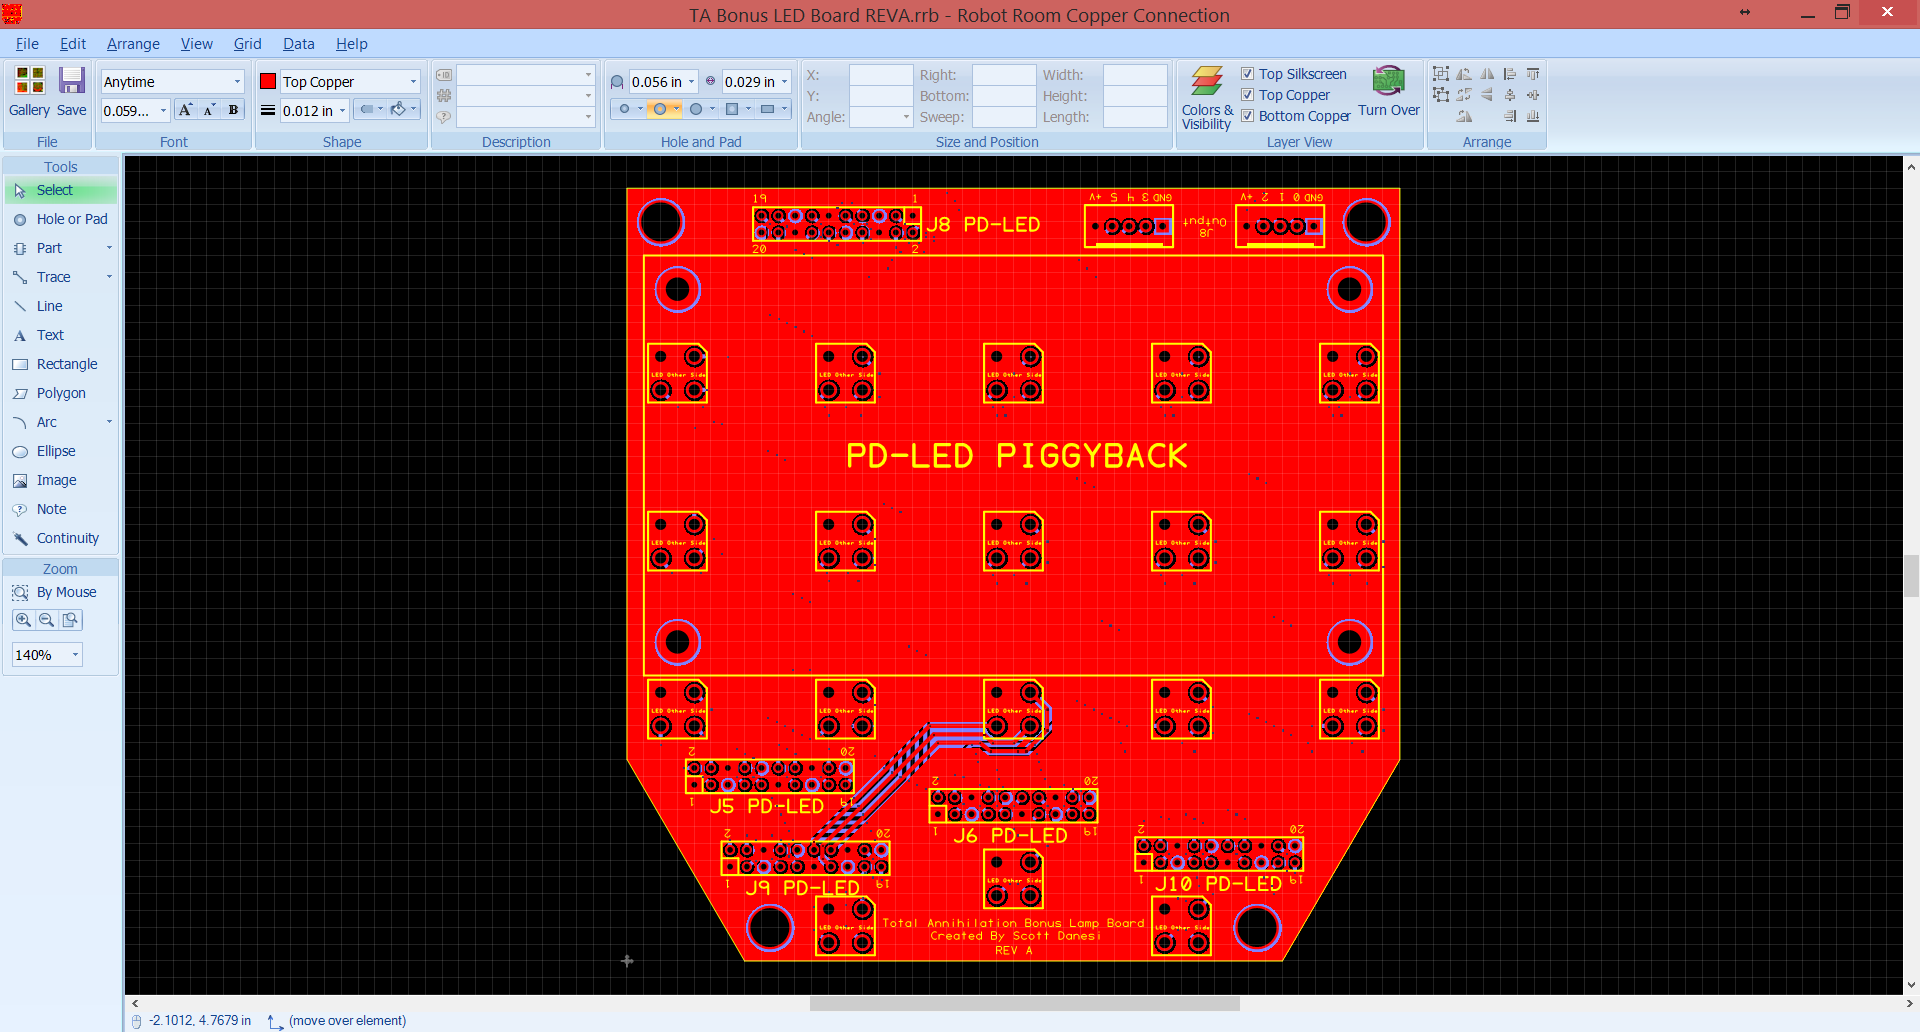
Next on the agenda was getting some of the custom circuit boards designed and sent off for manufacturing. Below are some screenshots of the boards prior to being sent off.

Custom RGB LED Board
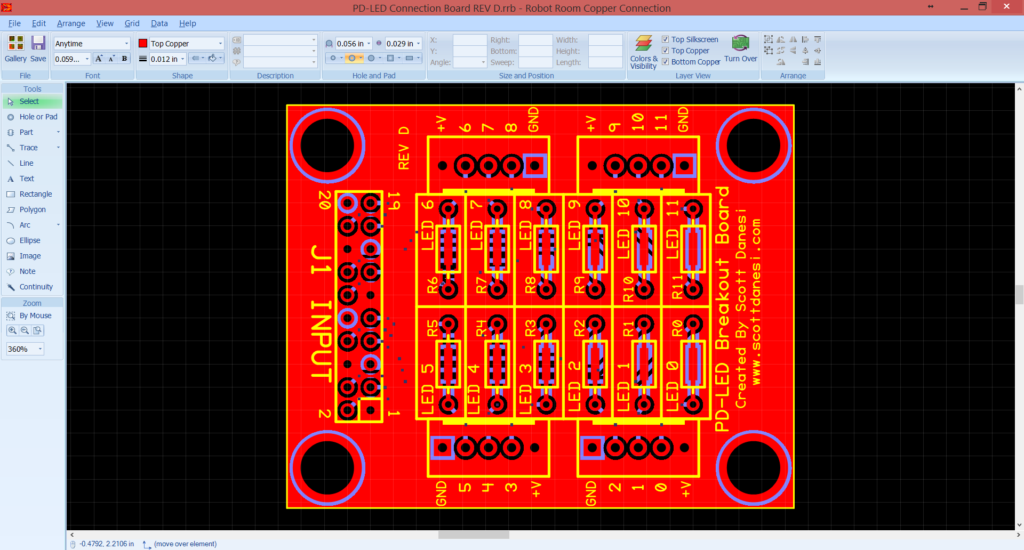
Custom PD-LED Breakout Board
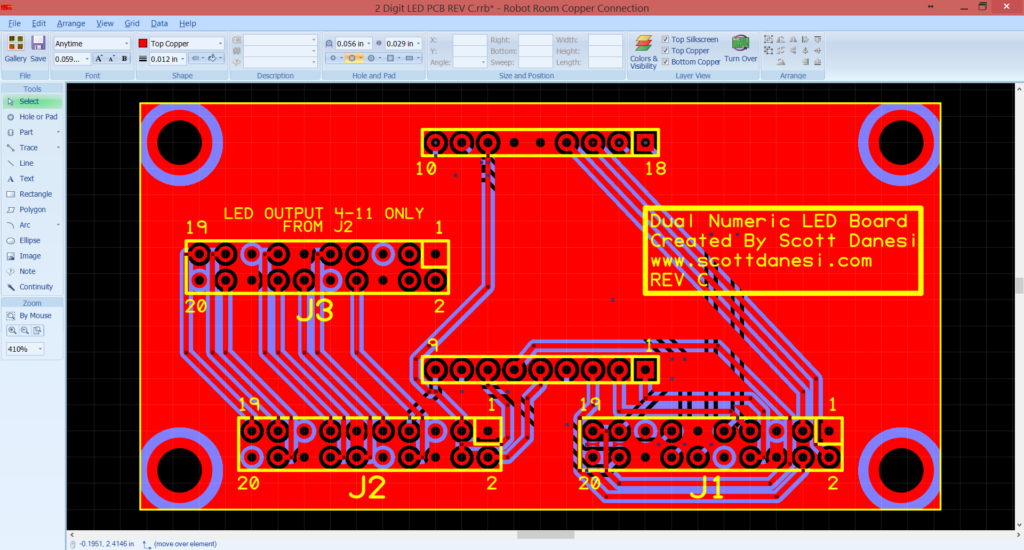
Custom 2 Digit Display Board
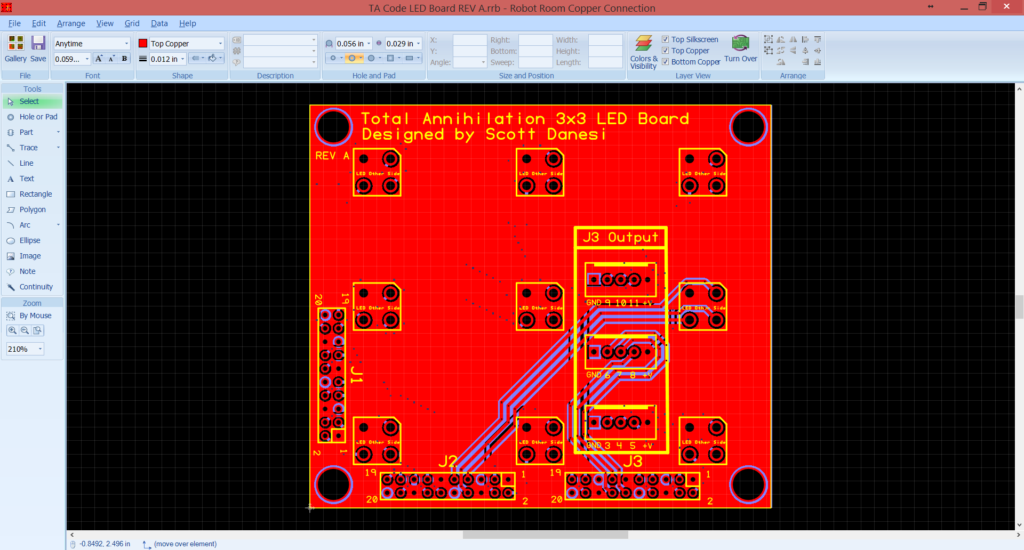
TA 3×3 RGB Lamp Board

TA Bonus Lamp Board
Well, that is all I have for now. Hope you enjoyed the update!