
This is the user guide for the Arcade Tournament Software that will help you understand and properly take advantage of all the features of this application This is a living document and will change with the different released versions.
Current Version: 1.7.5
Table of Contents
- Installation Steps and Information
- Setting up a New Tournament
- Running a Tournament
- Tournament Runtime Utilities
- Advanced Tournament Options
- Tournament Best Practices
1. Installation Steps and Information
Step 1: Be sure that you have downloaded the latest version of the software from the Arcade Tournament Manager Page
Step 2: Check that your computer meets the prerequisites:
- Windows Compatible PC with supported OS
- Windows XP
- Windows 7
- Windows 8
- Microsoft .NET Framework 3.5 or greater
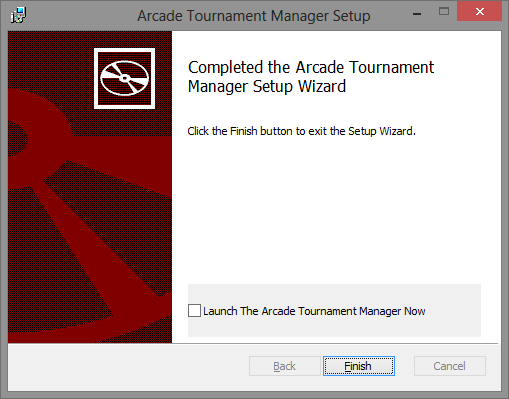
Step 3: Run the MSI installer file and follow the on screen instructions. (see screenshots below)

What gets installed with this MSI file?
- Program Files Directory
- Arcade Tournament Manager.exe
- Main application executable
- 10-26-2010-Scott’s Example Tournament.trn
- Example tournament file
- Scott’s Custom Scoring Example.tcs
- Example Custom Scoring file
- BetaBrite.dll
- BetaBrite connection DLL file for communication with BetaBrite and Alpha LED Signs
- Arcade Tournament Manager.exe
- System Fonts
- Pinball Data
- Karmatic Arcade
2. Setting up a New Tournament
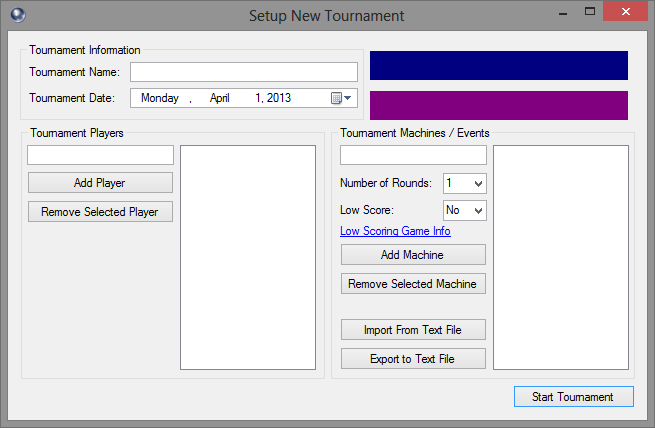
New Tournament Setup Window
Step 1: To start a new Tournament, click on the file menu and select “New Tournament”. This will bring up the Tournament Setup Window.
Step 2: Fill out the following information:
- Tournament Name
- Tournament Players
- Tournament Machines / Events
Step 3: Click the “Start Tournament” Button.
Other Functions:
Multiple Rounds on same machine / event
When entering a machine or event into the application, you have the ability to add a certain number of rounds to each one. What this will do is add the machine or event multiple times to the list with a [R1], [R2], etc. after the name denoting the round number. These rounds will score exactly the same as an individual machine. This functionality is designed to save time entering names when there are multiple rounds.
Low Score Game
Low Score game functionality is one that was put in place for fun. This function will score the machine / event in reverse based on score. For instance, the winner will be the one with the lowest score. This is great for EM pinball machines where each player tries to get the lowest score possible.
Import Machine / Event list from text file
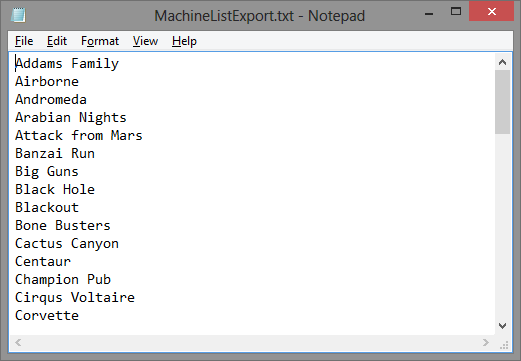
Example Machine / Event text file contents
You also have the ability to load a list of machines / events from a text file. This will save a huge amount of time when you have a static list of machines or events that you use on a frequent basis. The text file needs to be a list of machines or events where each one is on its own line. (see screenshot)
After importing a list, you can edit this list using the standard functionality of this application.
Export Machine / Event list to text file
Similar to the Import feature, this function allows you to export the list of machines / events that you created to a text file for future use. It will automatically put it in the correct format.
3. Running a Tournament
Once you have your tournament setup, you are now ready to actually run it. Below are the the essential topics you will need to know about when running a tournament.
Score Entry
There are a few different ways to enter scores into the software. First things first, be sure that you have started a tournament and that you are currently on the “Score Entry” tab on the main window.
Option 1: Select the player name and the machine / event name from the dropdown boxes and enter the score. Once you are happy with the score entered, you can submit the score.
Option 2: Click on the intersection of the Player and Machine on the spreadsheet. This will automatically select the appropriate combination in the dropdown boxes and set the cursor in the score entry box.
Score Entry Validation: There are 2 validations that occur to help ensure the accuracy of the scores being entered in the system. The first validation will display a box that will confirm the score being entered. The second validation will check to ensure that there is not already a score for that player and machine combination. If it detects that you are overwriting a score, it will show a warning.
Viewing Points Awarded
To view points by player and game, click on the “Points” tab. This will show a matrix of how many points each player earned per machine / event.
Viewing Standings
The overall standings are located in the “Standings” tab. This tab will show a list of each player ranked by total points for all machines / events. You can also view total points, total games played, and payout results.
Utilizing the Standings Breakout Window
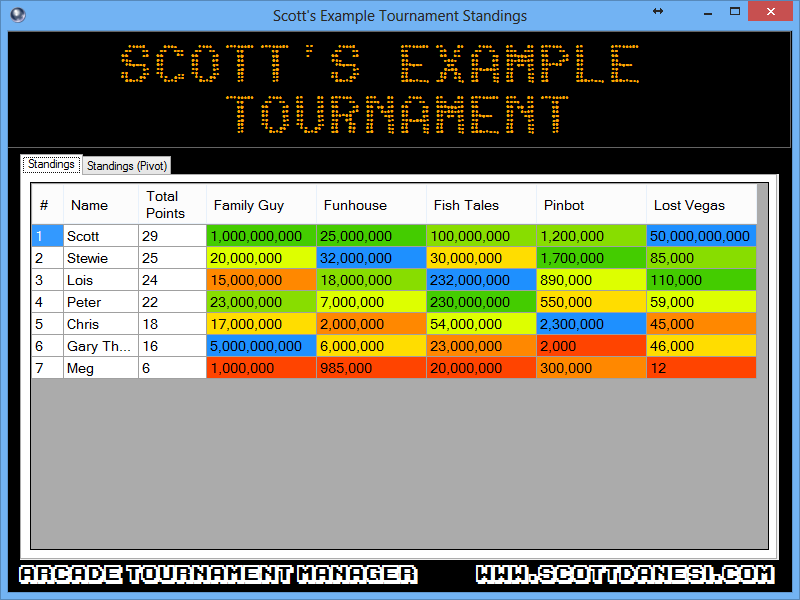
The Standings Breakout Window is a huge asset when running a tournament if you have an external monitor or projector plugged into your computer. The standings breakout window will show a large spreadsheet of scores and a Marquee across the top with the current tournament standings. Please see the Marquee Data Settings section for customization.
To display the Standings Breakout Window click on the View menu and select “Standings Breakout Window”. This will open the window and allow you to drag it to your external monitor or projector.
Setting up Tournament Payout
To setup payout for your tournament, you need to fill out the Payout Options tab under the main Options section. Please reference the Payout Options section of this document for information on how to set this up.
Publishing Tournament Results
Once the tournament is complete, you can publish the tournament results to the web by selecting “Tools” and then “Publish Final Scores”. You will be provided a URL to share once published. You can share and access this URL from anywhere.
4. Tournament Runtime Utilities
To access the Runtime Utilities section of the application, on the Tournament Manager main window, click the “Runtime Utilities” Tab.
Add Player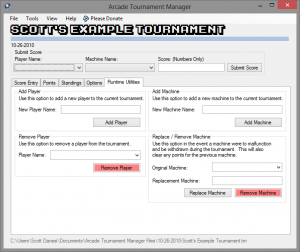
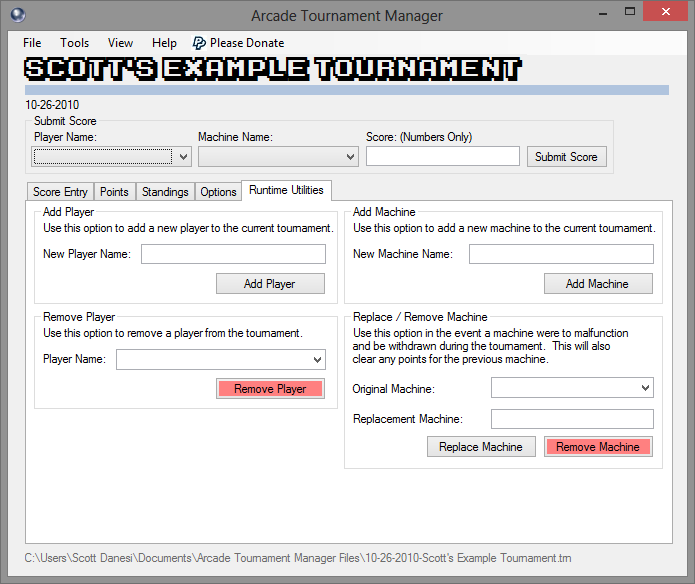
It is very common to need to add a player during an active tournament. This functionality will allow a user to be added to an active tournament on the fly. Obviously, you cannot add a player with the same name of one that is already in the tournament.
Remove Player
Similar to the Add Player functionality this utility will remove a player from the tournament and delete all of their data. Please note that there is no undo function for this. Once the player is removed, the player data is gone for good.
Add Machine / Event
Want to extend your current tournament? This option will add a new machine or event to your tournament. Just like adding a player, you cannot add a machine or event with the same name of one that is already in the tournament.
Replace / Remove Machine or Event
Once in a while, a machine will break down and need to be swapped with another. This option will allow you to either swap out teh machine with a new one or remove it completely. Either way, there is no undo for this function and all machine / event data will be removed from the tournament.
5. Advanced Tournament Options
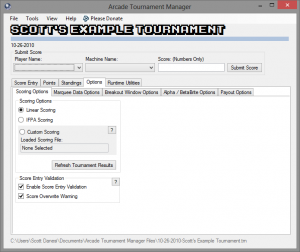 Scoring Options
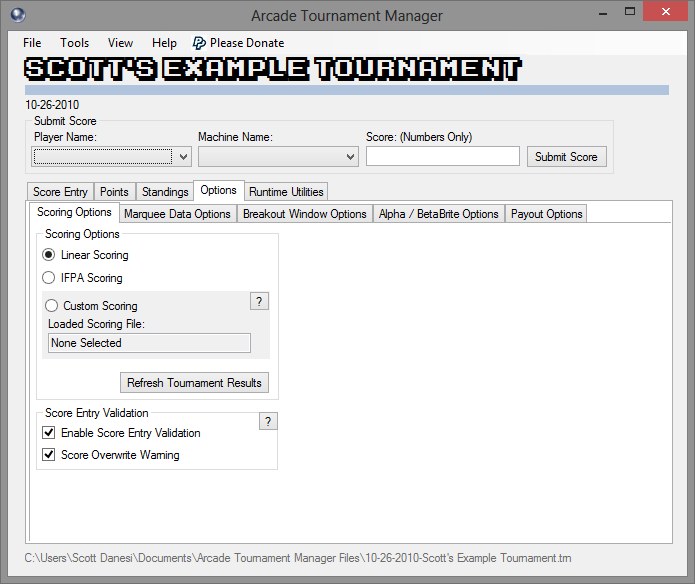
To show the Tournament Scoring Options, click on the options tab and then the “Scoring Options” subtab.
Linear Scoring: This option is the default for new tournaments, and is the most common form of tournament scoring. The way this scoring works is it assigns points based on the number of players in the tournament. For instance, if you have a tournament with 10 players, the first place player for a machine / event will get 10 points. Second Place will get 9 points, and so on. The last placed player will get 1 point. With this option, please be aware that point totals will change if you add or remove players from the tournament.
IFPA Scoring: The International Flipper Pinball Association (http://www.ifpapinball.com/), uses a different type of scoring. Although it is similar to Linear Scoring, it is different because it does not vary based on the amount of players in the tournament. The scoring scheme is as follows. First Place will earn 100 points, second gets awarded 90 points, third gets 85 points, fourth gets 84 points, and it counts down from that for the top 87 players. The person in 87th place gets 1 point and any lower than that and 0 points are awarded.

Scott’s Custom Scoring Template Example
Custom Scoring: Custom scoring allows you to create your own custom scoring template. This template is simply a text file with a list of numbers. First place will be awarded the amount of points in the first row of the text file, second place will get the points from the 2nd row, and so on. I have included a custom scoring example along with the application as an example. You can also see a screenshot of this example file to the right. –>
First, create your custom scoring template as a text file, then change the extension from “.txt” to “.tcs”. You can then click on the custom scoring button and load in your template.
Score Entry Validation: The score entry validation section is where you can enable of disable notifications when entering scores. The first check-box will enable or disable the score entry notification that appears by default. This message can be very annoying for large data entry exercises. The second check-box will enable or disable the score overwrite warning that appears when entering a score over the top of another. This box should always be checked as a best practice.
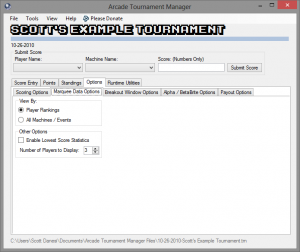 Marquee Data Options
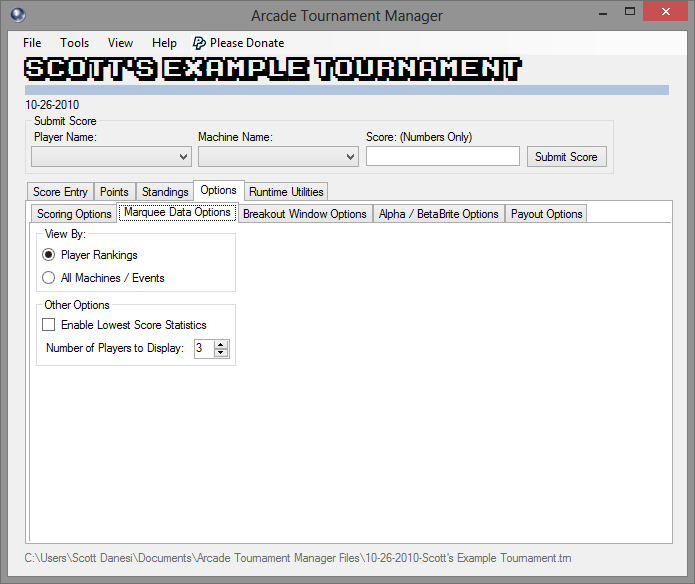
The Marquee Data options allow you to customize the Marquee data that gets displayed on the Standings Breakout Window and the optional Alpha / BetaBrite sign.
View By: This section allows you to select if you would like to view the top players overall or display the leader on each machine. When changing between types, the marquee data will update immediately.
Other Options: This section is only relevant when viewing by Player Rankings. You can select to show Lowest Score Statistics and customize how many top positions are shown within the marquee data.
Breakout Window Options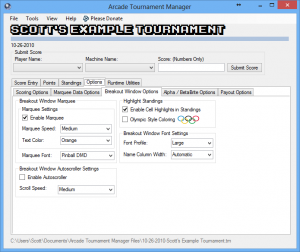
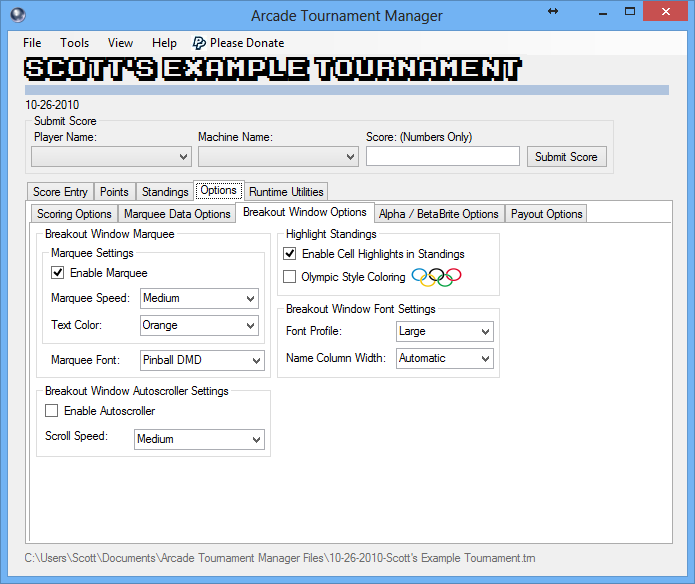
This tab will allow you to customize the look and feel and behavior of the Standings Breakout Window.
Breakout Window Marquee: In this section you can enable or disable the marquee on the top of the breakout window. You can also select the font type and color.
Highlight Standings: This section is used to customize the cell highlights in the breakout window. You can enable or disable highlighting and optionally use Olympic (Gold, Silver, Bronze) coloring.
Breakout Window Autoscoller Settings: If you are running a tournament that has more players than can fit in the breakout window, you can enable the Autoscroller and the breakout window will scroll up and down automatically showing all players. You can also adjust the speed of the Autoscroller in this section.
Breakout Window Font Settings: In this section you can customize the font size and column width of the Breakout Window. You can select from a few different font profiles and even override the width of the “Name” column if needed.
 Alpha / BetaBrite Options
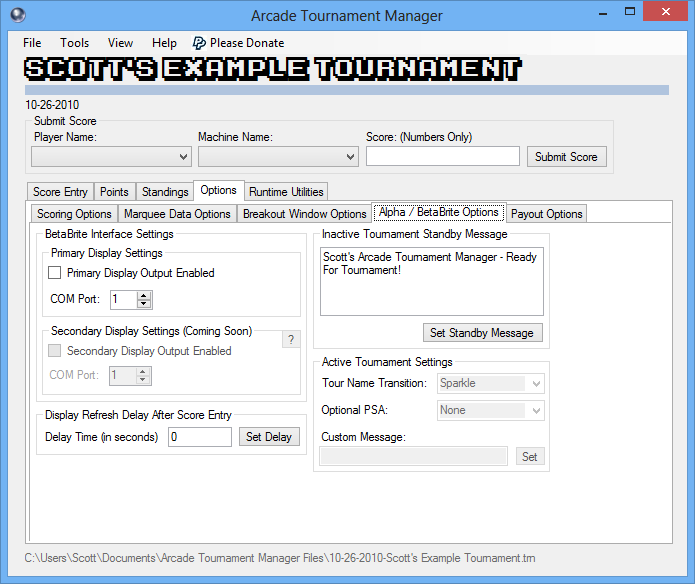
Here is the options tab where you can configure the connection to your BetaBrite or Alpha LED Display. I did a nice write-up on how to properly connect an LED Sign to The Arcade Tournament Manager that is a great starting point if you want to use one of these signs.
BetaBrite Interface Settings: This section is the first that you need to fill out. You will need to know which COM port that your LED sign is connected to. First, select the correct COM port, and then click the “Primary Display Output Enabled” checkbox. After the Sign is successfully connected, you can then modify the other options.
Inactive Tournament Standby Message: Here, you can send a message to the connected BetaBrite sign when there is no active tournament. This is useful for when you are setting up a tournament and want to let people know where to register and when the tournament will be starting.
Active Tournament Settings: This section allows you to customize the content displayed on the LED Sign. You can select a transition for you Tournament name, select and optional Public Service Announcement (PSA), and set a custom message that will appear after the tournament name on the display.
Display Refresh Delay After Score Entry: After entering a new score into the system, the LED sign will need to be refreshed. This delay is used so that if you are entering many scores at once, it will wait for the specified amount of seconds before refreshing the scores to the LED Display. It can be very annoying for people watching the display if the display get cleared and refreshed every time you enter a new score. This option does not affect the Breakout Window.
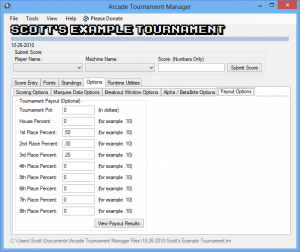 Payout Options
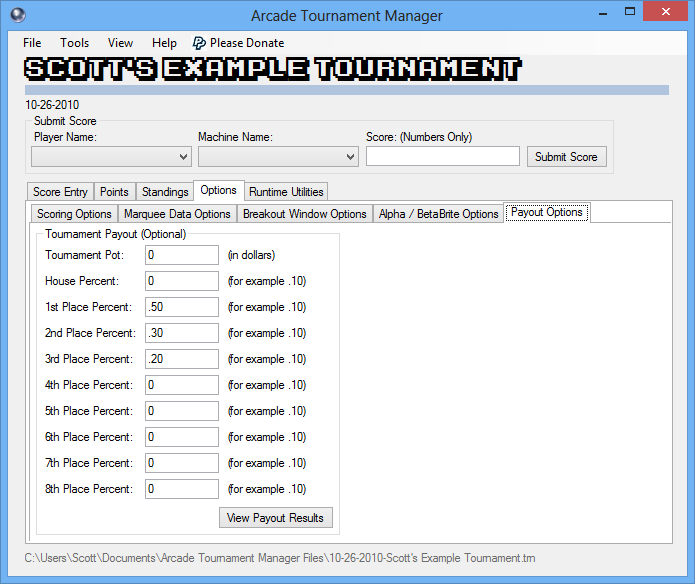
In this section, you will find a bunch of text input boxes. The first thing you will need to fill out is the total Tournament Pot. After this value has been filled out, you will then need to decide how you are going to disperse this dollar amount among the tournament players. The application currently only allows for up to the top 8 players and the house to receive a payout.
To set the payout amounts you must enter a percentage in each textbox. Please keep in mind that the number is represented as a decimal between 0 and 1. 1 representing 100% payout. For example 50% would be represented by “.50”. You must also ensure that your total payout equals 100%. The system will warn you if this value is incorrect.
6. Tournament Best Practices
Below is a list of best practices that we have come up with over the years. It is a good idea to use these during your tournament. I will be posting more of these soon.
- Score Sheets: This application has the ability to create printable score sheets to help ensure the accuracy of scores entered. You can generate and print these score sheets by going to the tools menu and click “Generate Printable Score Sheet”. This will generate a file with a list of all the machines / events and a place to enter the player name at the top.
- Backup Scores: Backing up scores is a pretty important thing. If your hard drive were to crash during a tournament, you would have to start entering scores all over again. The best way to deal with this is to backup the tournament data to a flash drive by clicking on the file menu, selecting “Backup Tournament Data”, and selecting the flash drive. This will make a backup of the “TRN” file that you can simply load again after a disaster. Please be sure to back this up frequently during the tournament.
