Hey Everyone,
I know it has been a while since my last update, but I have made some MASSIVE progress over the past month. I currently have the game completely wired up and SkeletonGame running! Yes, my game flips and plays multiplayer games. It also keeps track of some basic scoring! So you are probably asking what the hell is SkeletonGame. It is a framework for P-ROC written by a good friend Michael Ocean. It is used as a starting point for people wanting to build a custom or re-themed game using PyProcGameHD. I will be using SkeletonGame for my base game and helping the team improve the framework as I go.
More info on SkeletonGame here: http://www.skeletongame.com
Well, so let’s check out some chronological photos!!
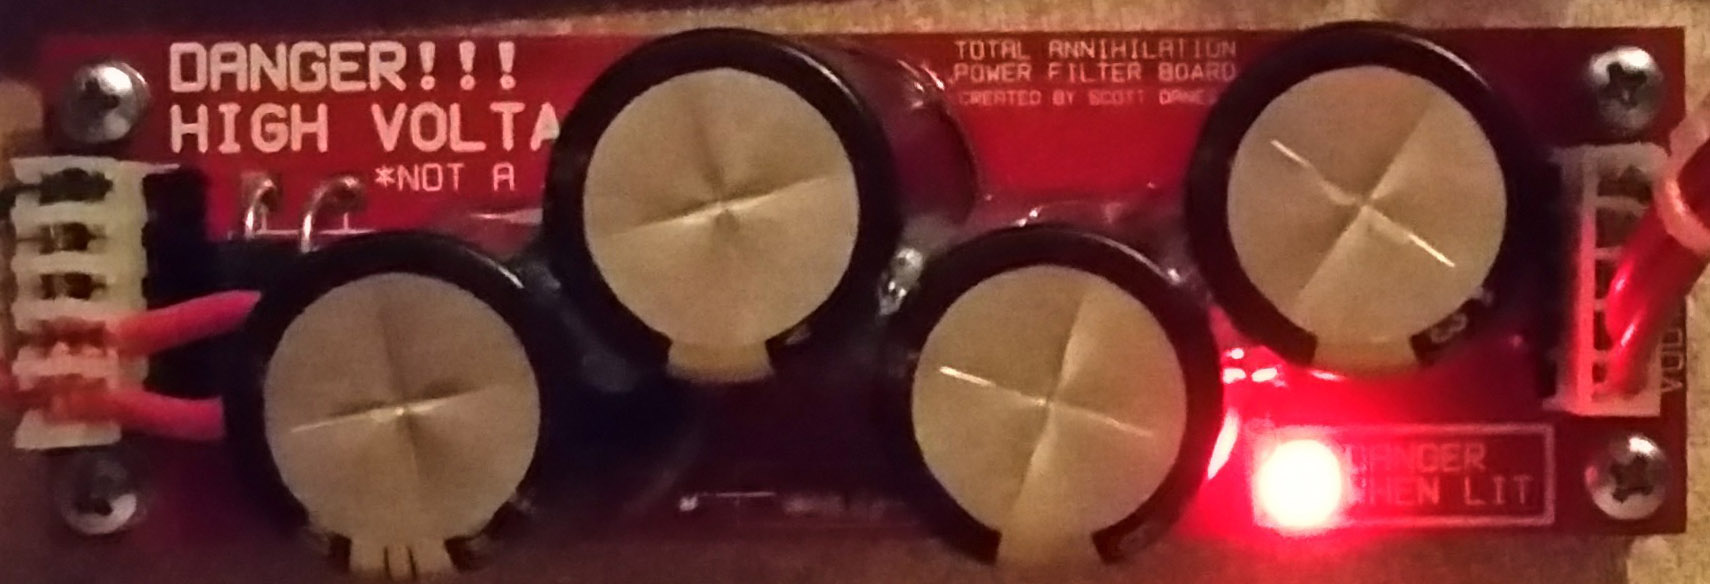
Here is a dangerous photo of my 48v capacitor bank. I have shown pictures of this in the past, but not powered up in the machine. This capacitor bank acts as a smoothing circuit for my 48v line when coils fire. This will ease the current spike to the power supply. The little red LED on board is a warning light telling me that the capacitors are at full charge and to not touch it. This is pretty high voltage and could definitely cause some problems if it was instantly discharged onto my hand. 🙂
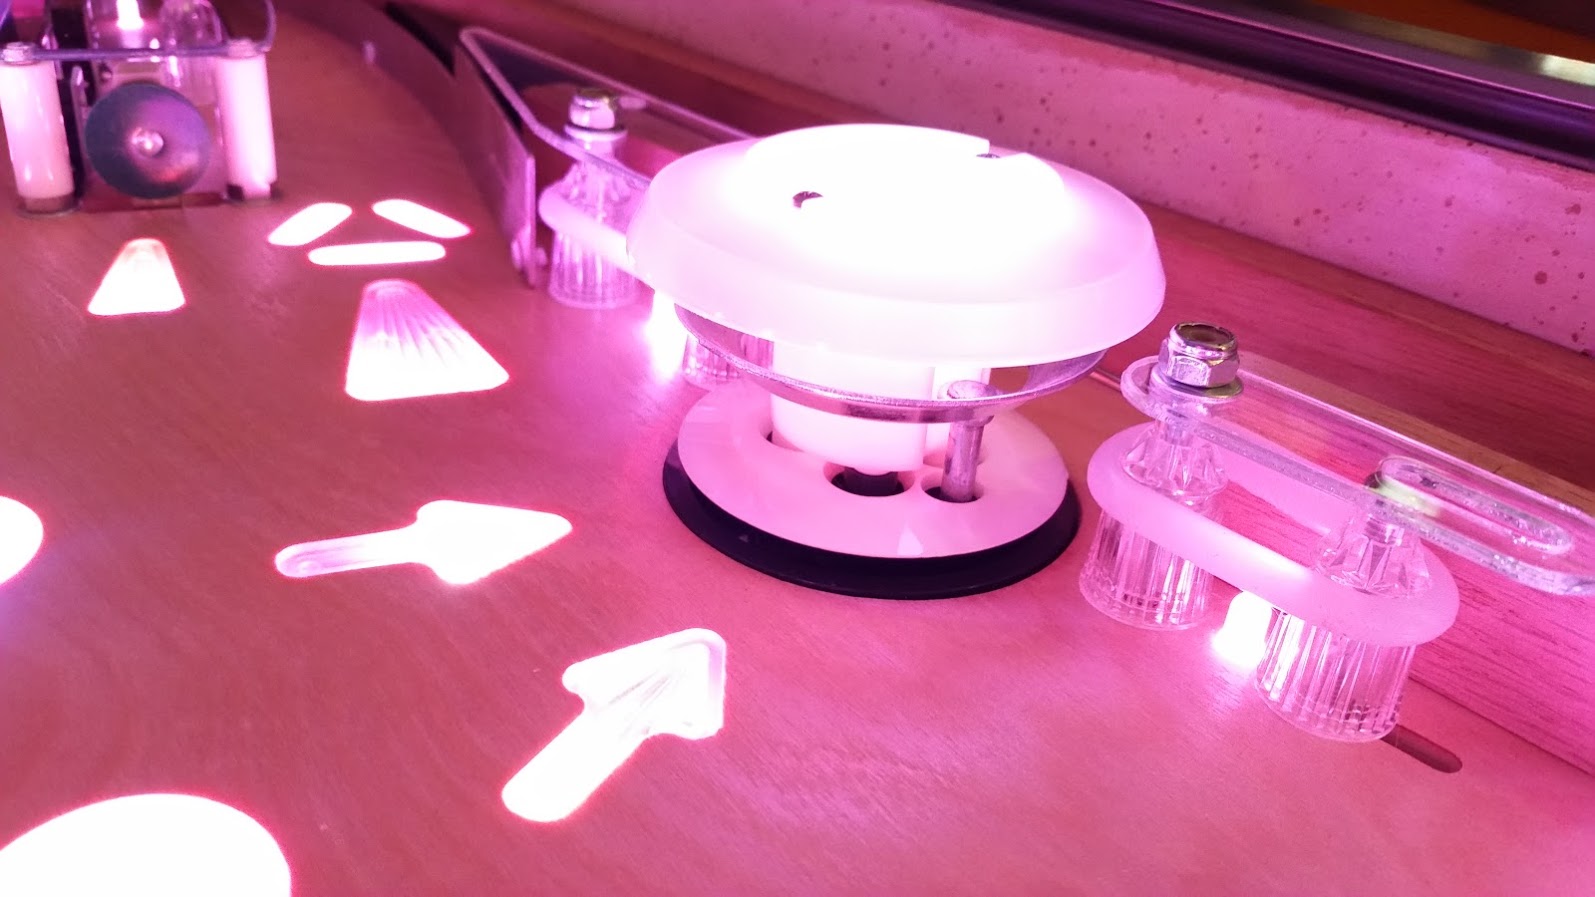
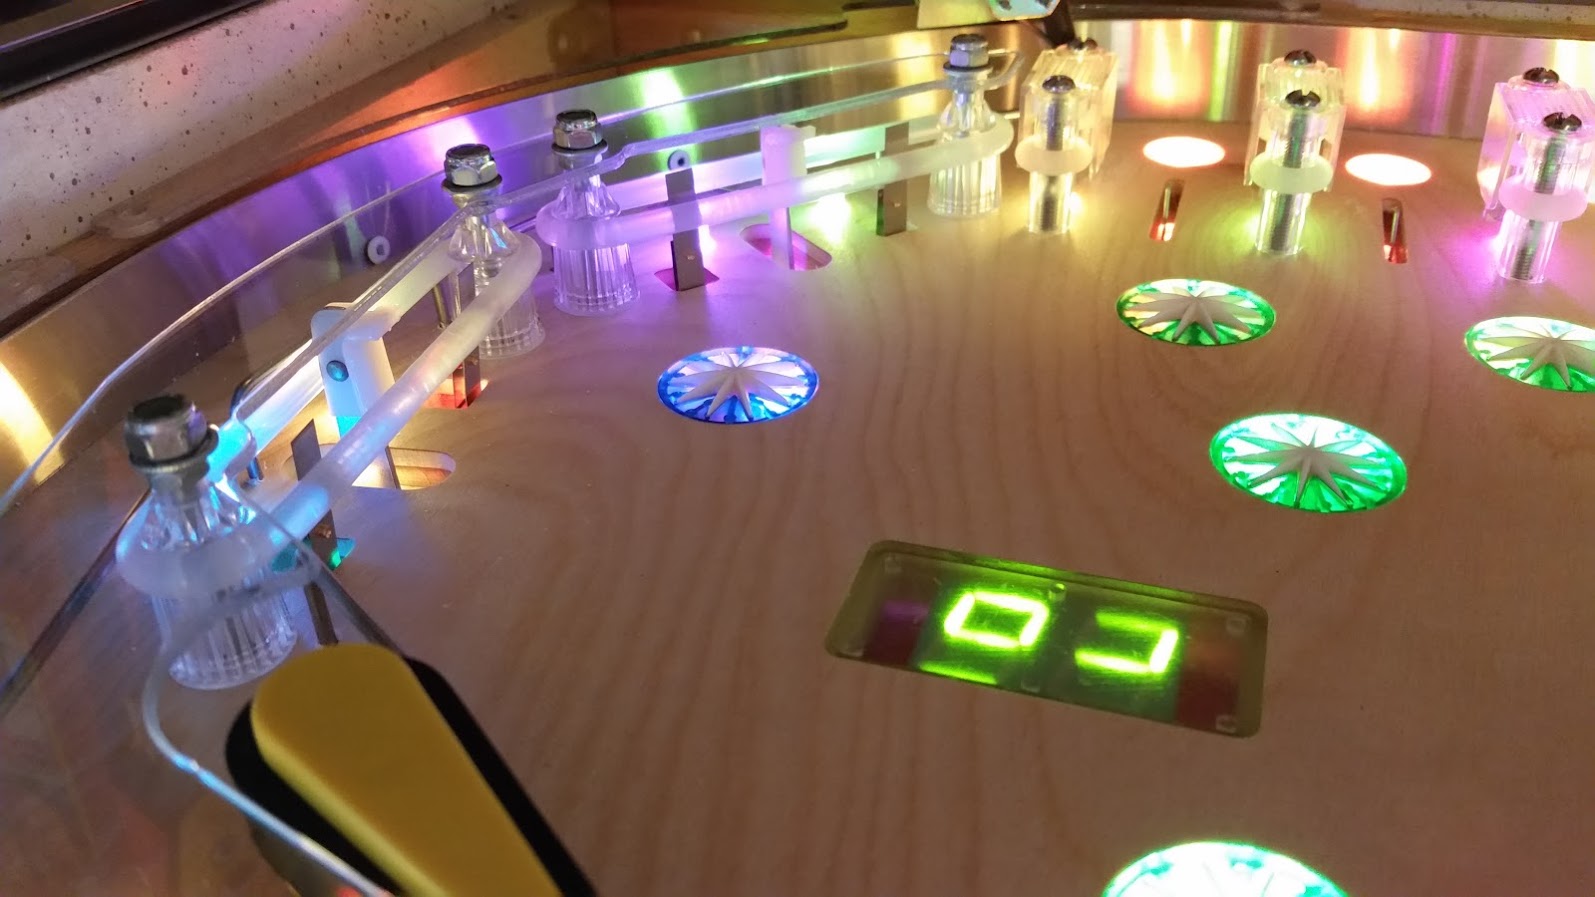
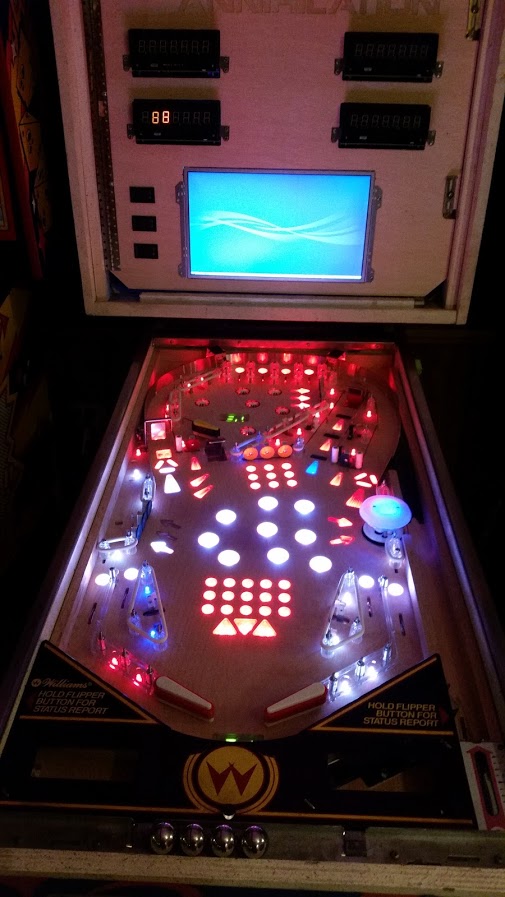
Here is a shot of some LED color testing I was doing on the playfield. Just making sure all the wiring was OK!
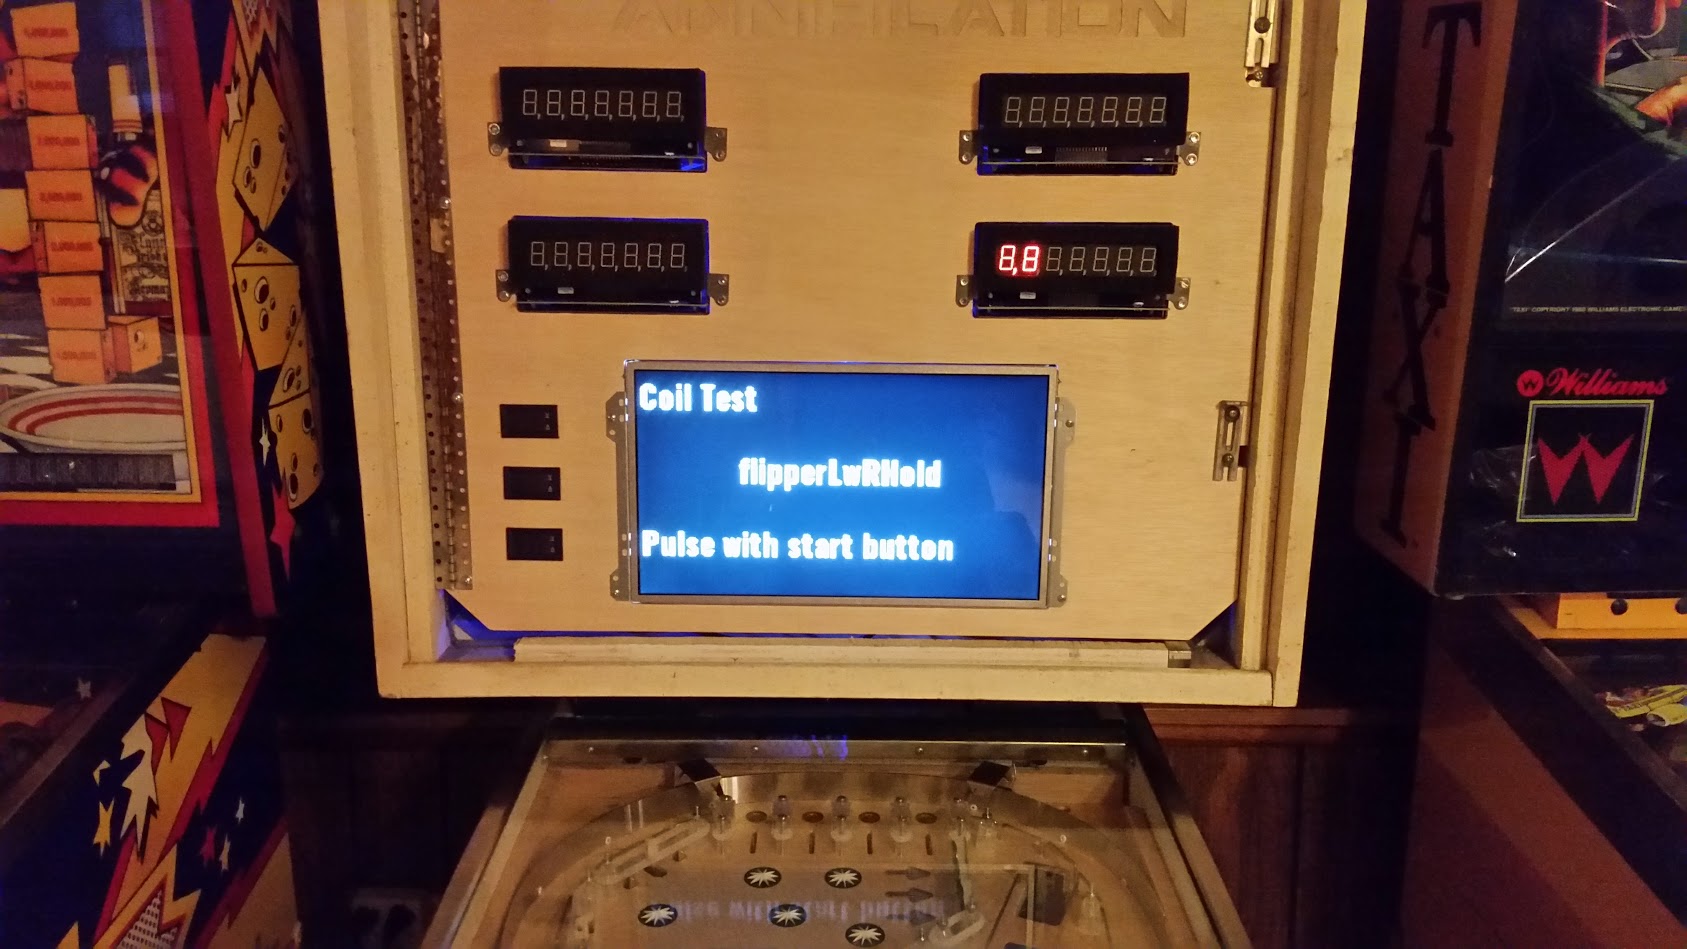
Below is a quick shot of the coil test service menu in this early version of SkeletonGame. This version will be upgraded to a better version soon when Josh Kugler merges his version with SkeletonGame.
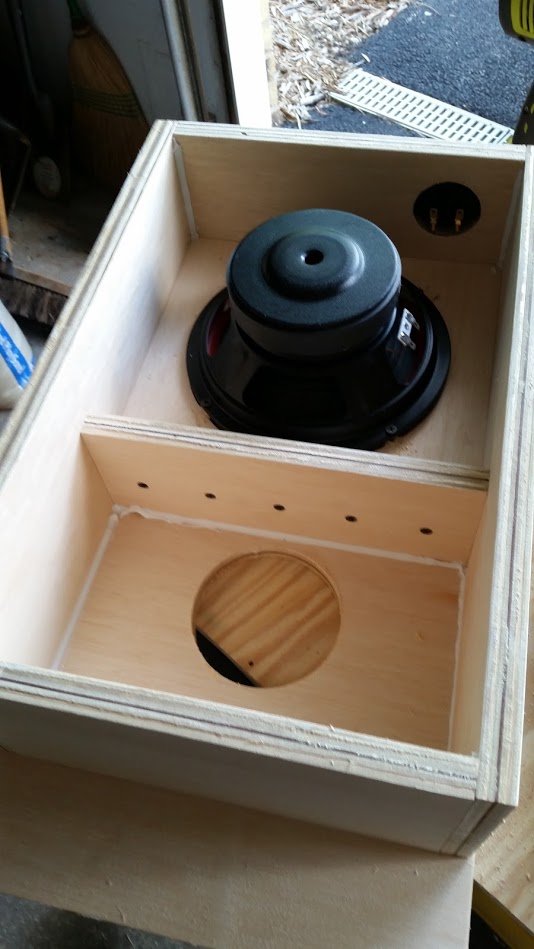
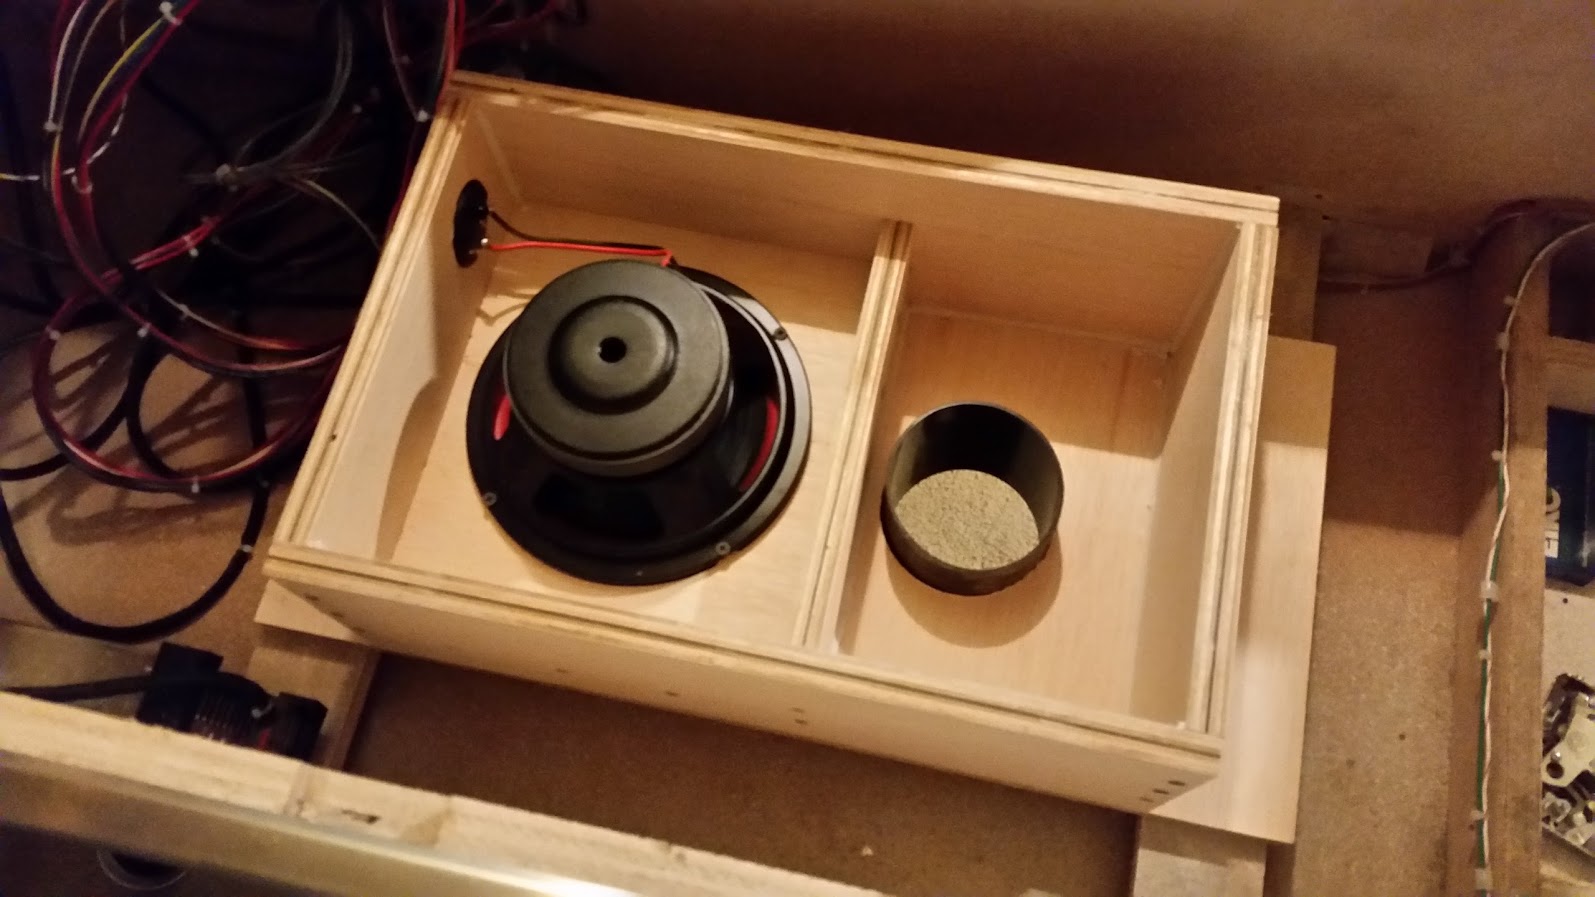
Here is the beginning photos of the Sub Chamber that will be on the inside of the cabinet in Total Annihilation. This is basically a small bandpass box that houses an 8″ subwoofer that fires into a sealed chamber. The majority of the subwoofer sound will exit the bottom of the cabinet through a 4 inch port hole on the open side of the chamber.
I have already done a bunch of testing with this and 2 blown subwoofers later and a new Kicker car amplifer, I decided to stick with pure mobile audio components. I am using a Kicker brand subwoofer and amp for this setup. Oh, and another 12v supply that can provide up to 55 amps of current.
This is a screenshot of one of the CNC CAM setups I programmed for the Sub Chamber.

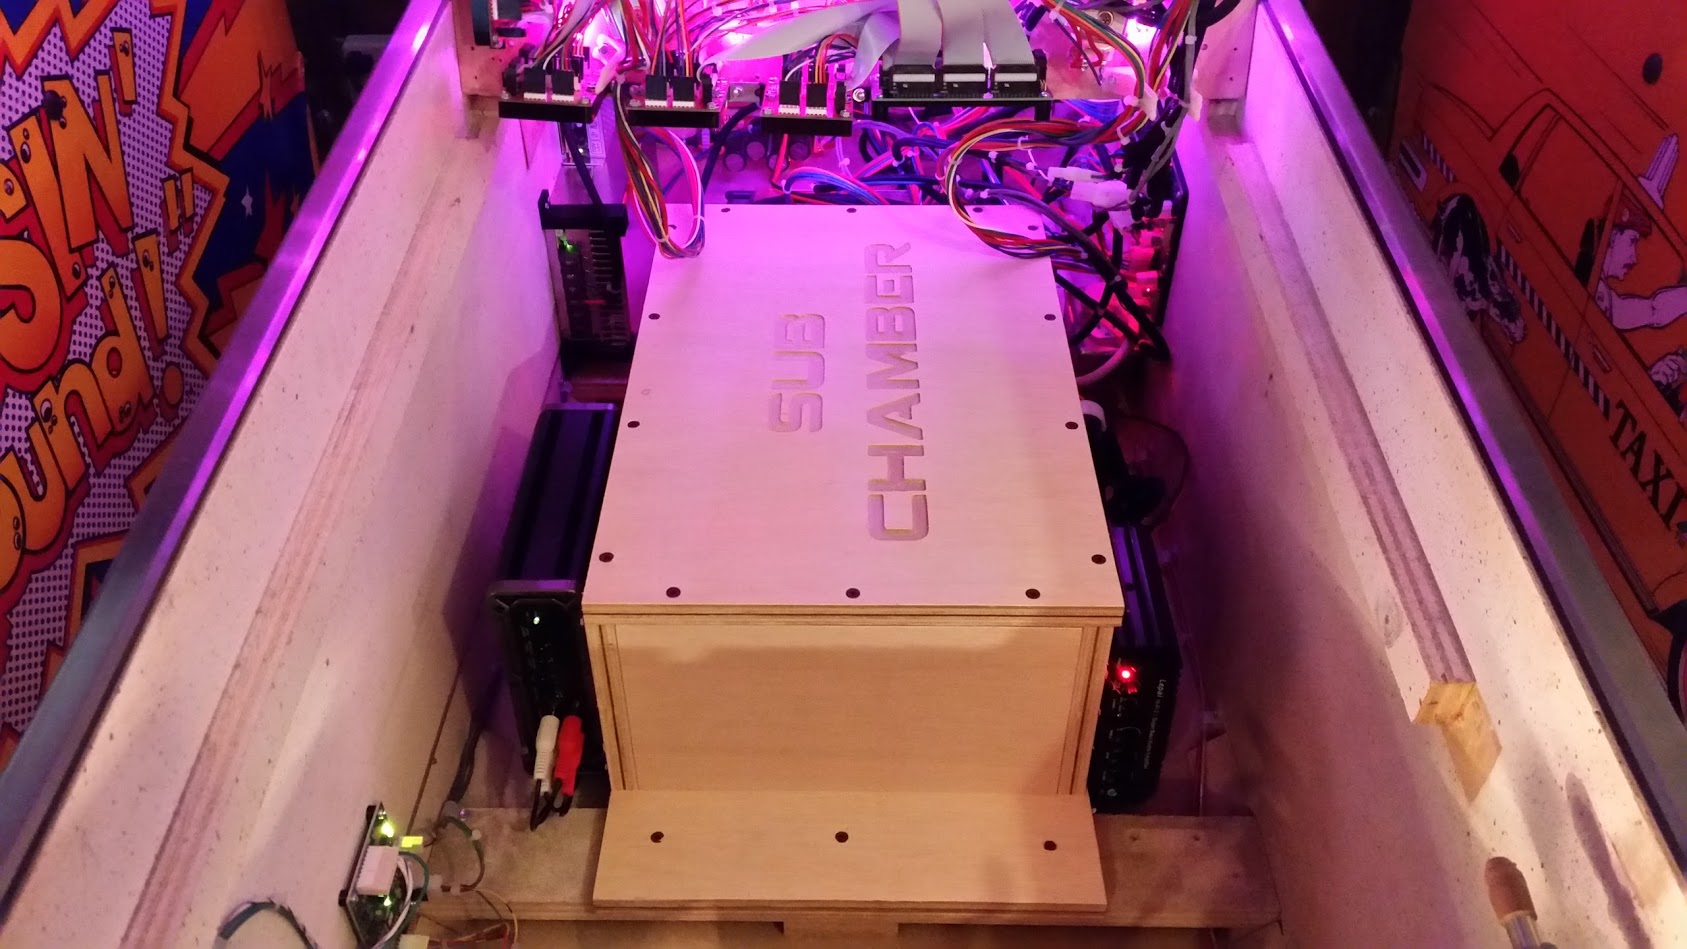
Starting to assemble!
Test fitting into cabinet.
DONE!
I will be using the Dutch Pinball suite to build some of my lampshows for this project. Below is the base image that I use for that process to map the insert and GI lamps.
Below is a quick video of my test attract mode. It is basically cycling the colors and putting random colors to each lamp. Kind cool eh?
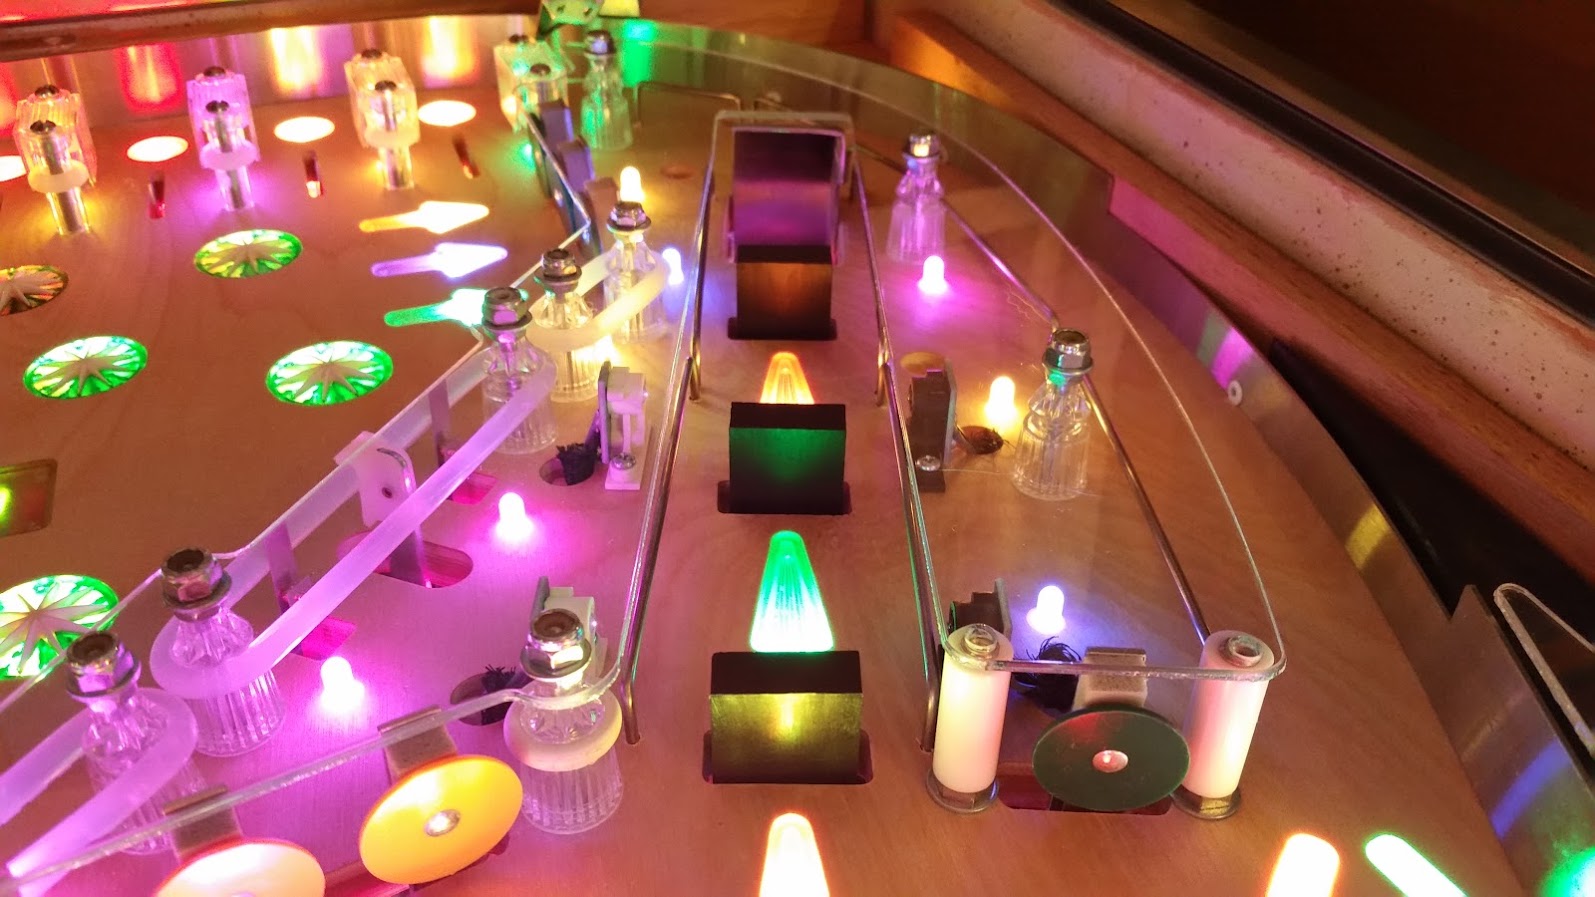
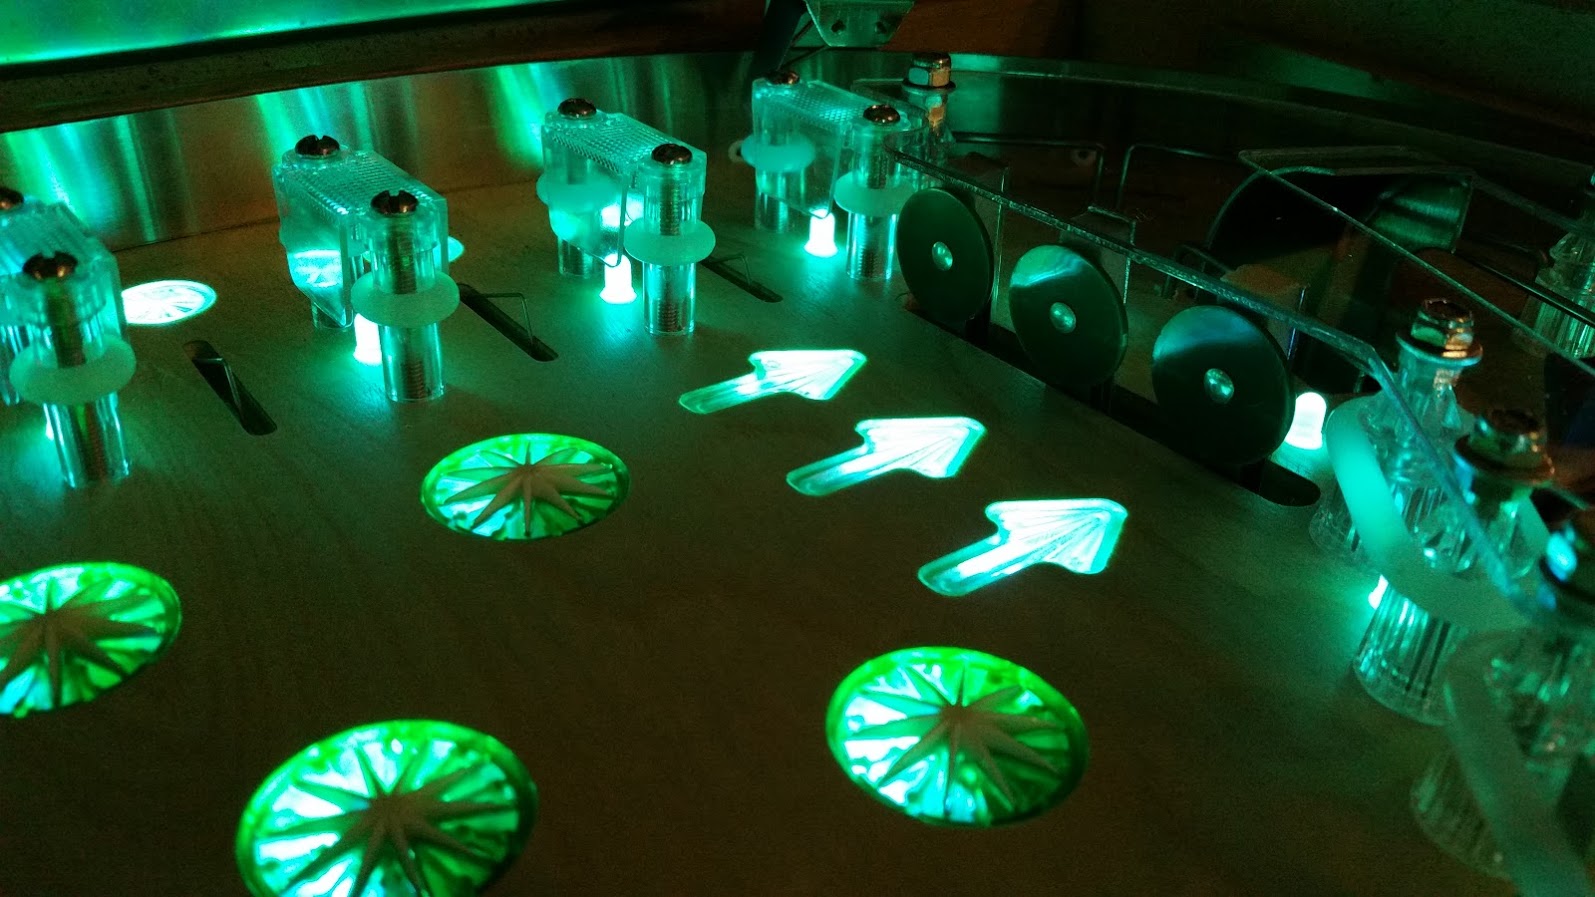
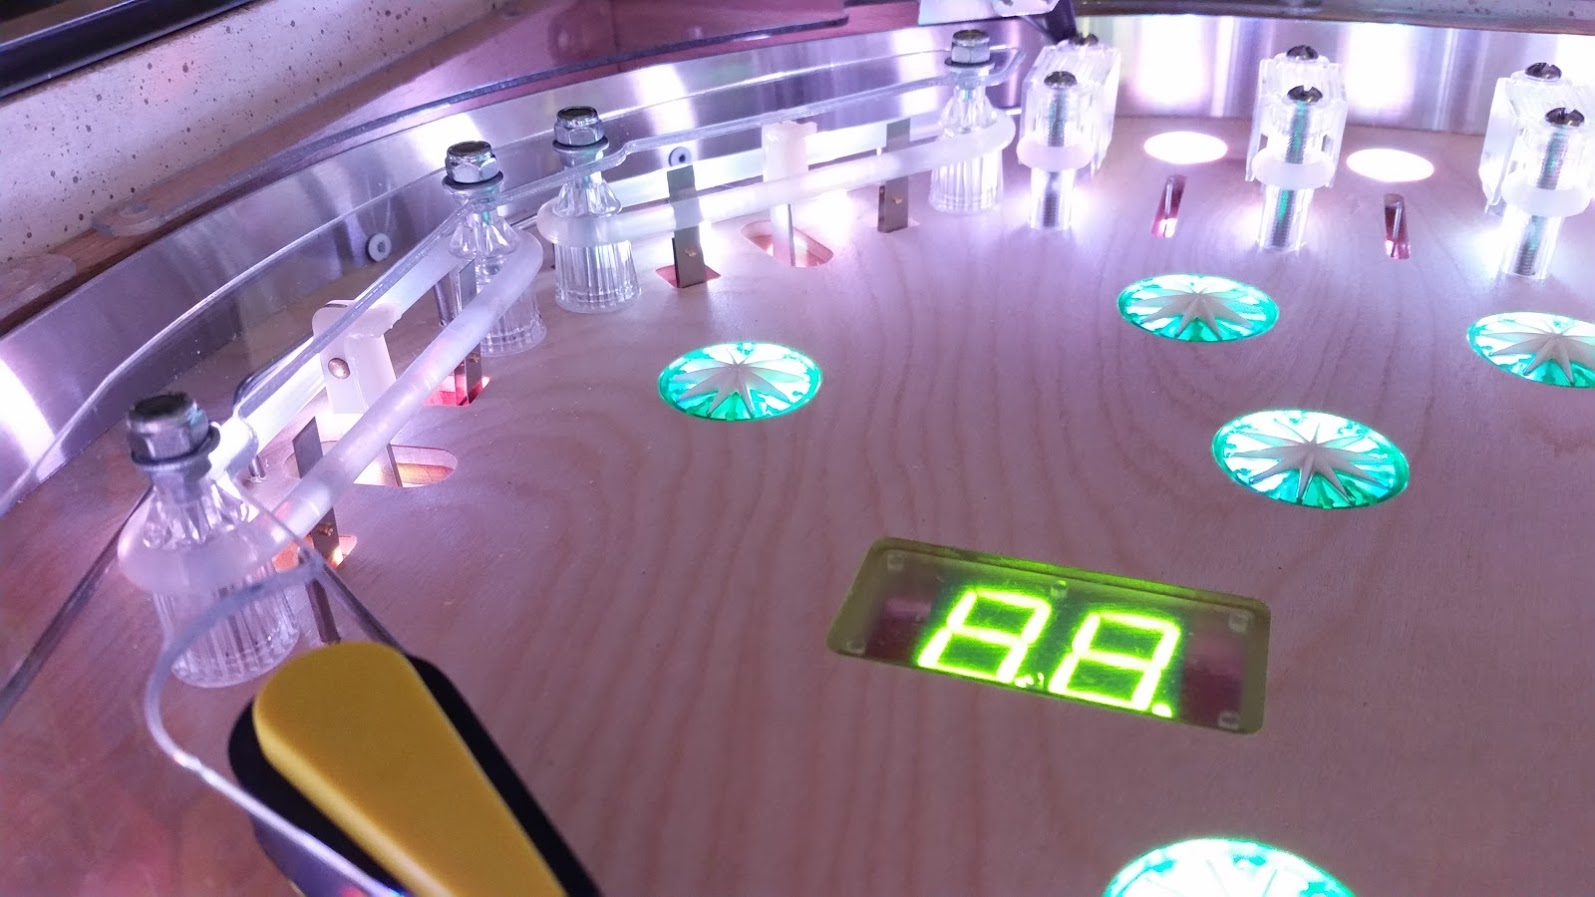
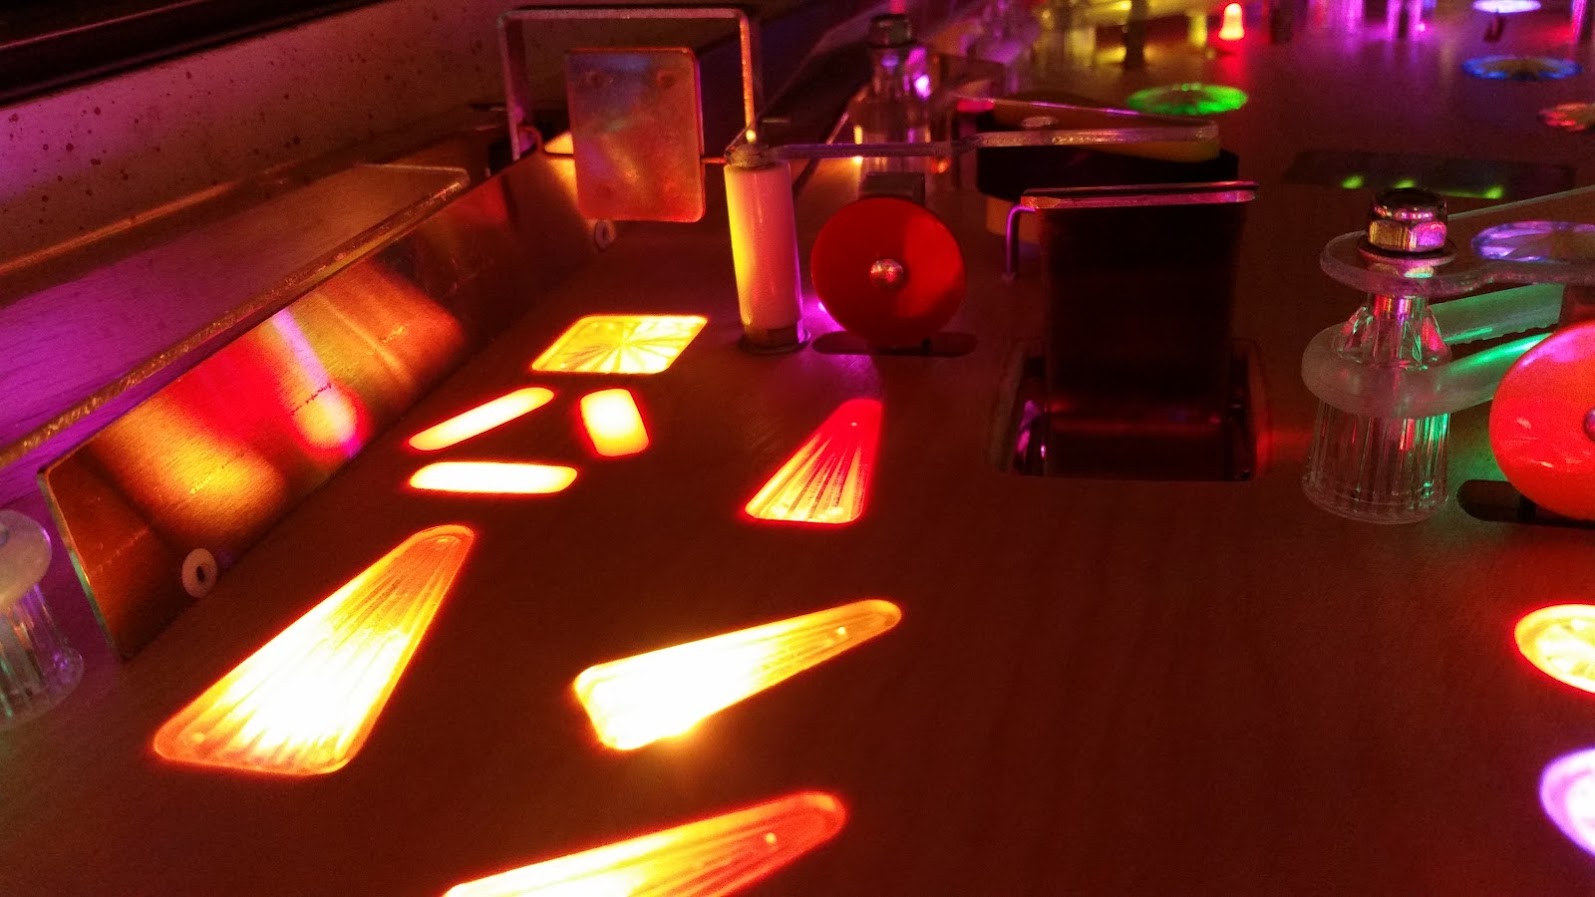
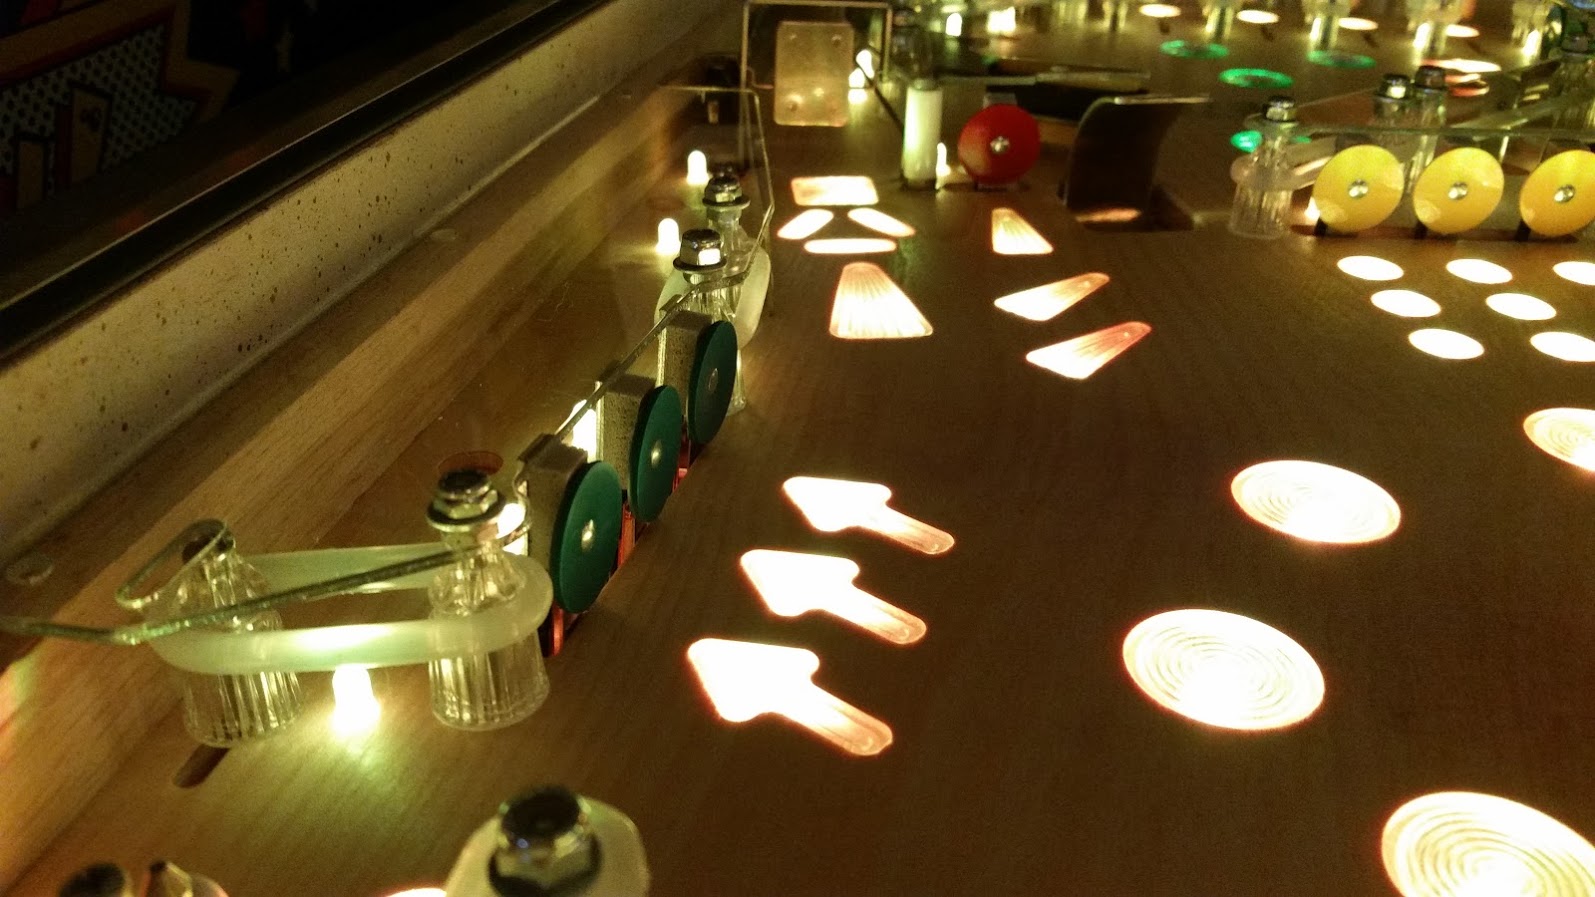
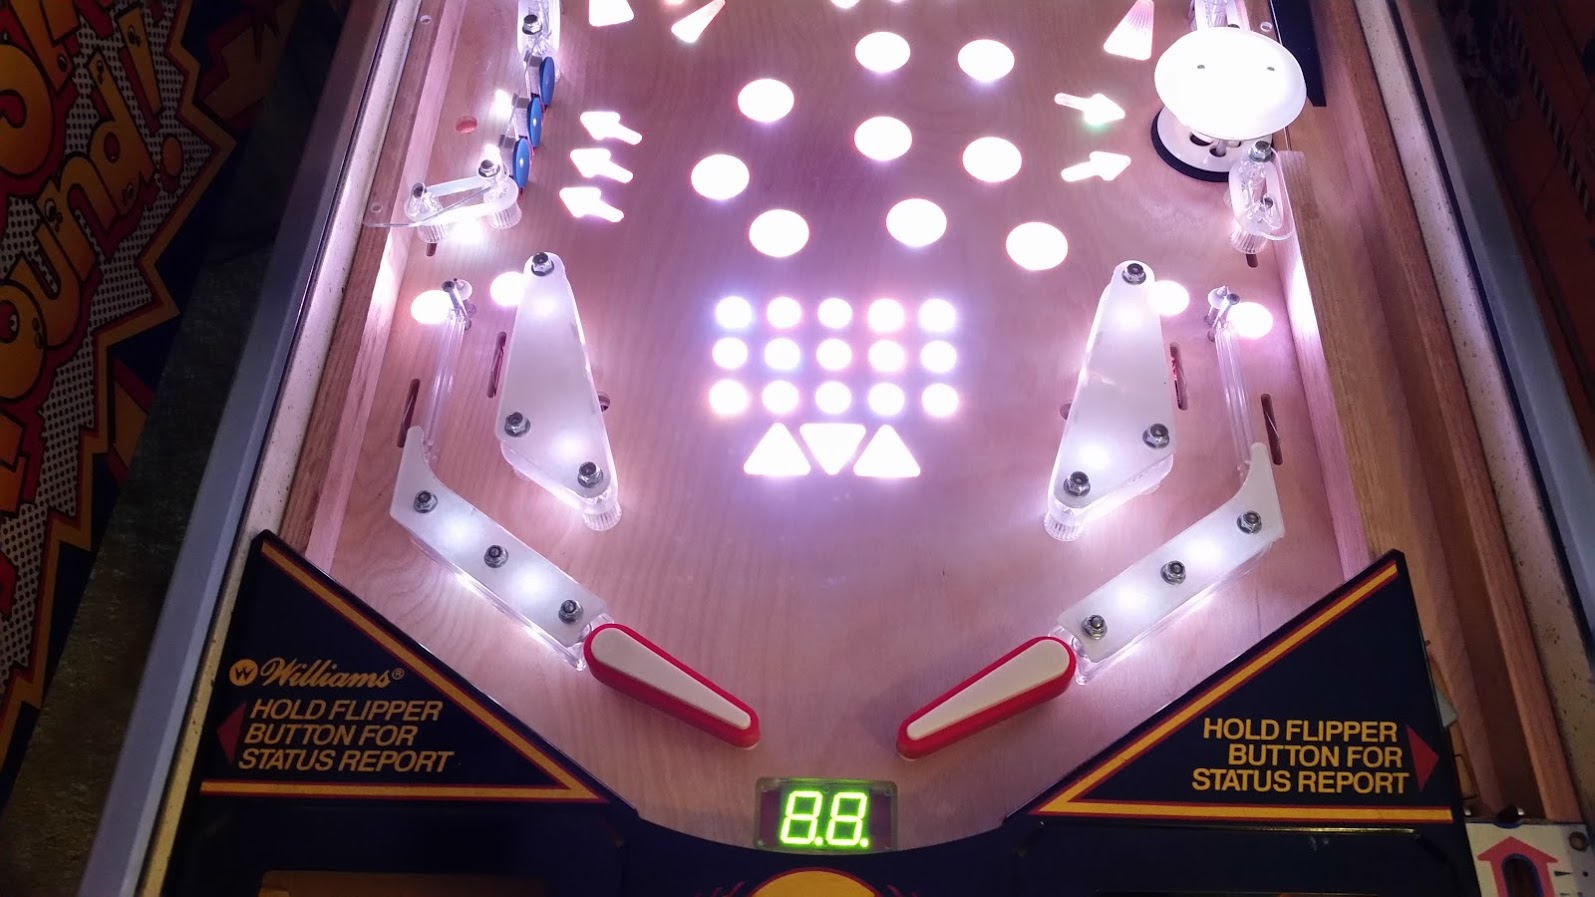
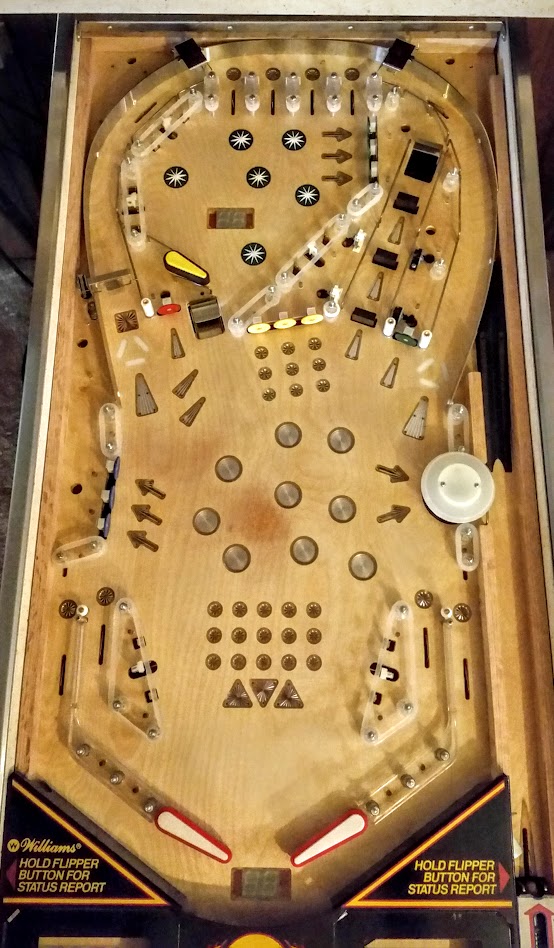
Now to finish this off, here are a bunch of cool glamour shots of my playfield lit up in attract mode! Hope you enjoyed the update!