News

Hey Everyone,

Just wanted to give a quick update on the V3 playfield.  I have finally finished the insert layout.  I decided to remove the obtuse arrows on the left side and sub in some nice early Bally style arrows.  I have also begin the process of testing out my insert hole machining.  The first test was actually pretty good.  Check out the results below.

PlayfieldV3Final

20160123_125951

20160123_130955

Hey Everyone,

Happy New Year!  Here is another update on the Total Nuclear Annihilation project.  I have currently finished populating and testing the layout of the V2 playfield.  The next step will be to finish the design of the V3 playfield that includes inserts.  I also need to update my trough cuts to adapt to the new Pinball Life ball trough that will be coming out early this year.  I will post some specs of that trough once I get it into my design.

Below are pictures of the populated V2 playfield, a video of my inline drop ball locking release, and a sneak peek at an early version of the V3 playfield that includes inserts.  Click on the images for the full size view.

20151227_112016

Playfield_Assembly_with_Inserts

Hey Everyone,

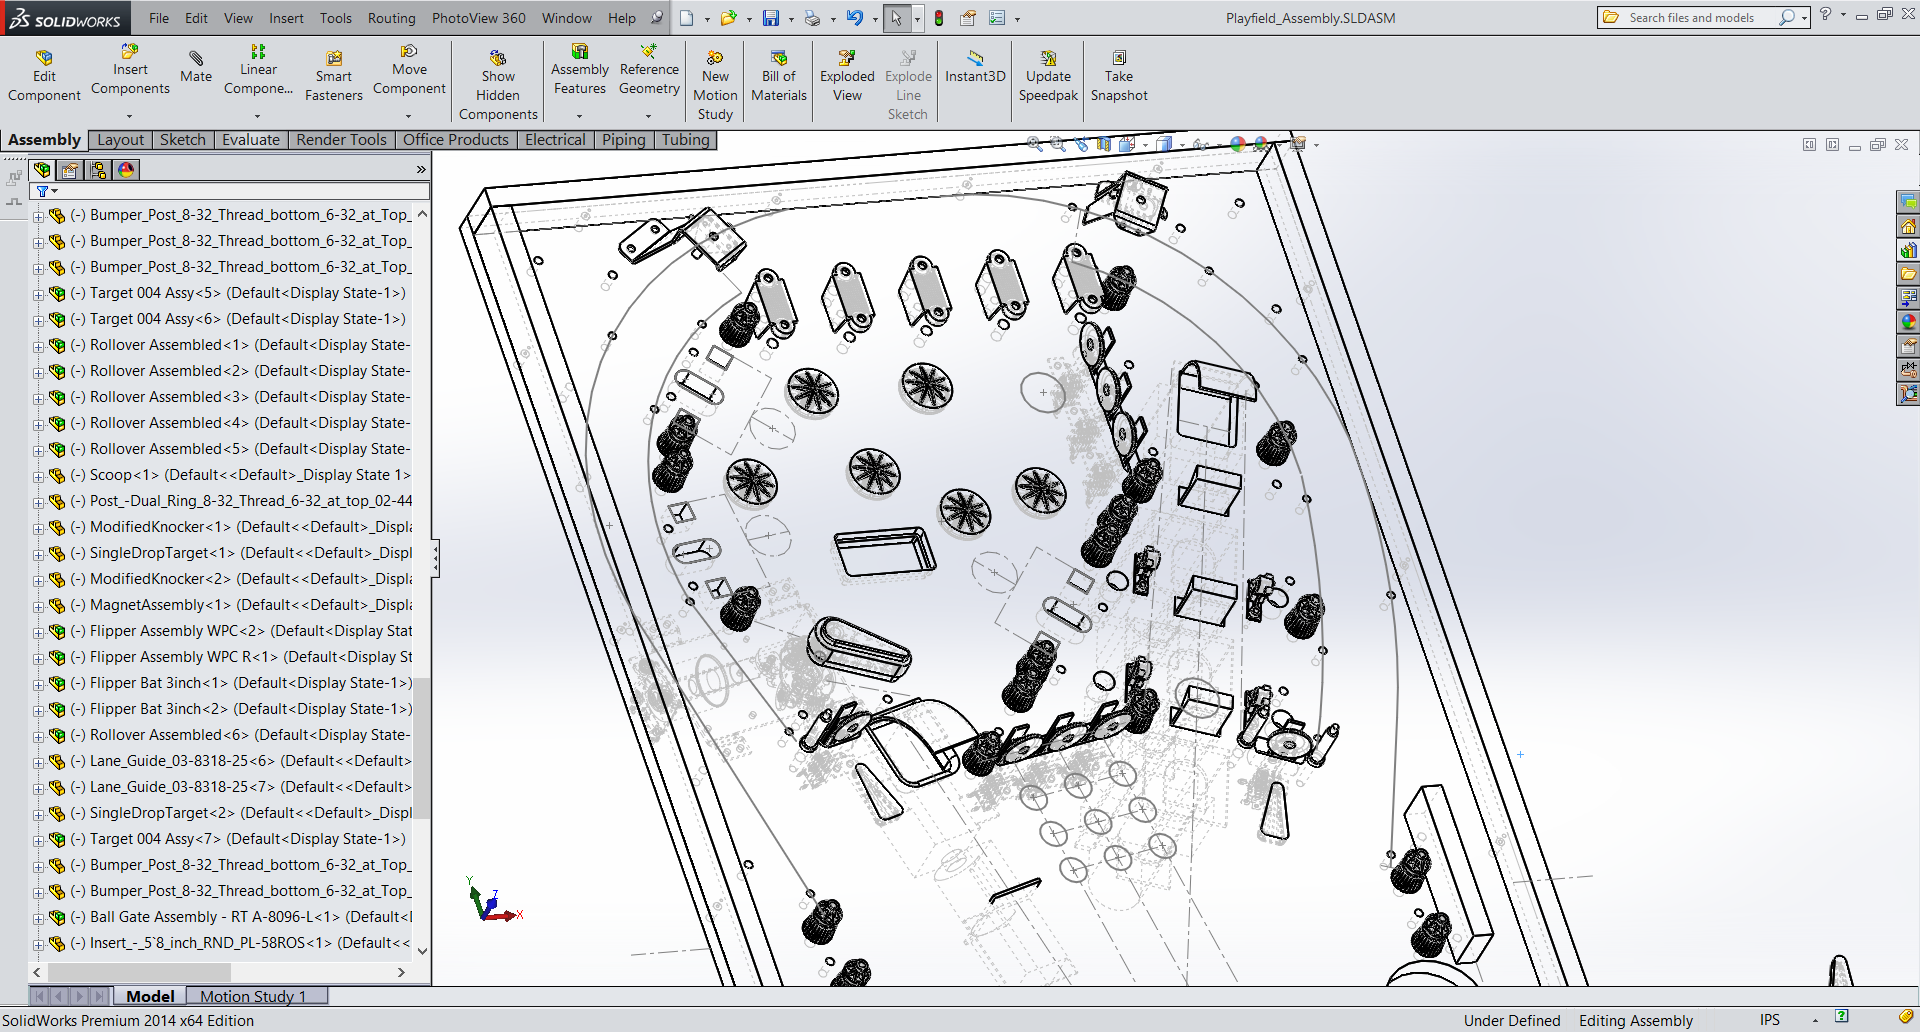
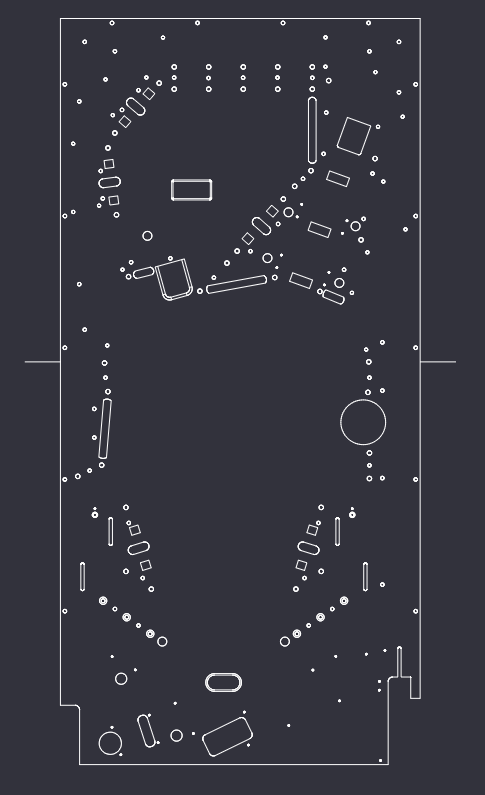
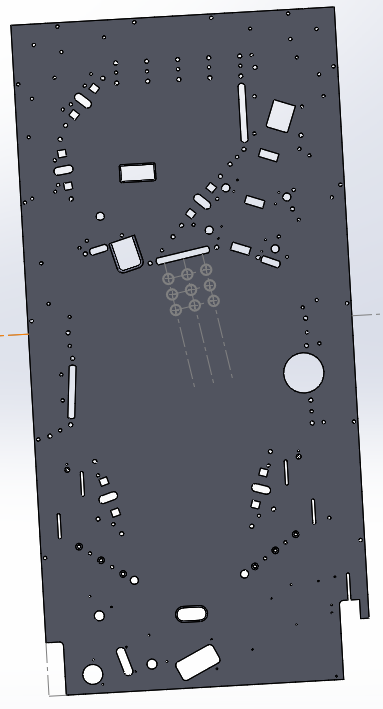
After populating my V1 playfield and testing a few things out, I discovered that my upper right kickback design was not very smooth and I just could not live with the design as it seemed amateur to me.  I ended up replacing the upper right side of the design with some straight inline drops with a scoop behind them.  I am going to do some really cool ball locking tricks with this setup and it will be much better than the original design.  Below is a rendering of the upper section of the V2 playfield that I updated.

A

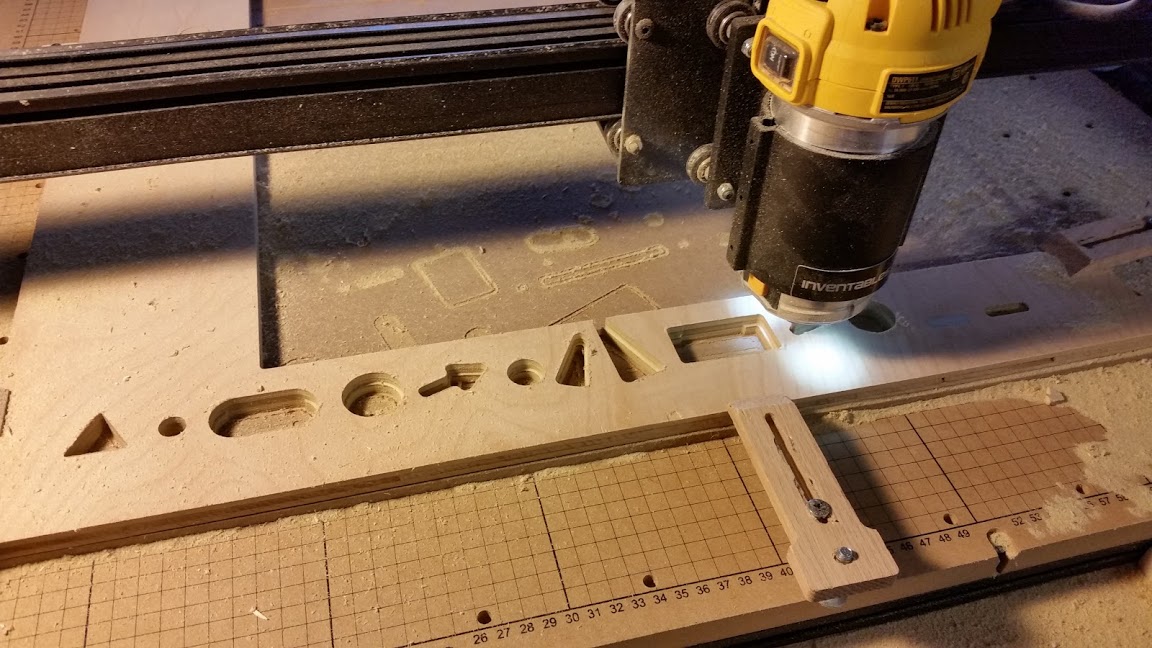
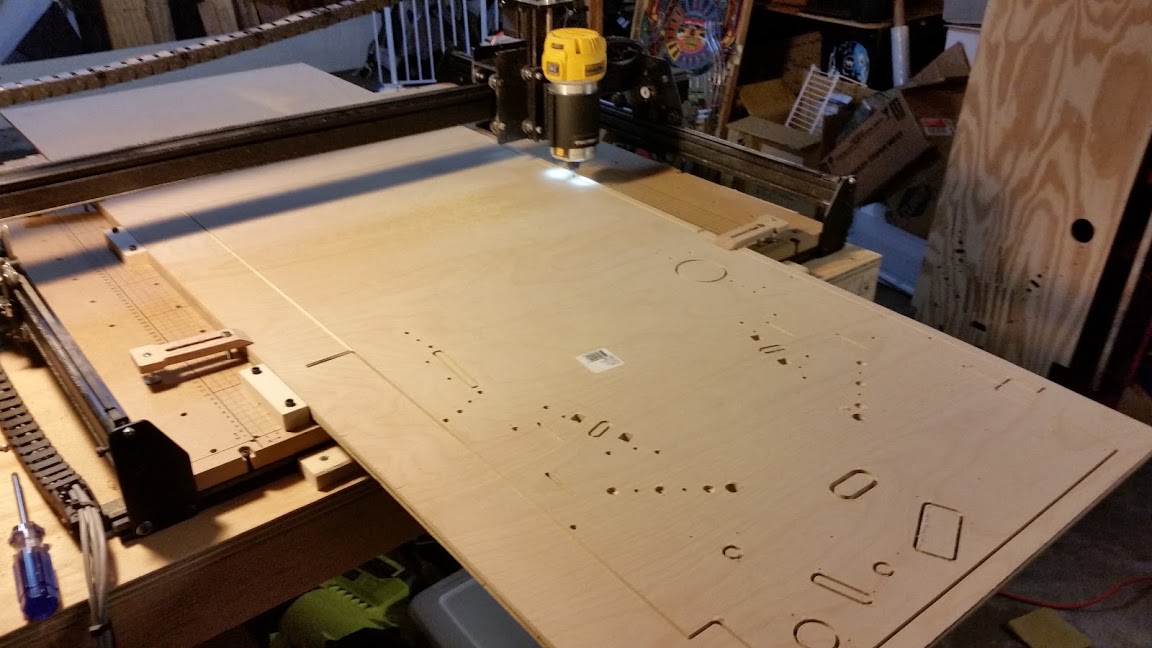
So on a separate note, I have gotten a bunch of questions on how the hell I am milling a full sized playfield on an X-Carve that is only capable of doing 31″ x 31″.  The process is not that difficult.  Here are the high level steps that I perform to get my playfields cut.

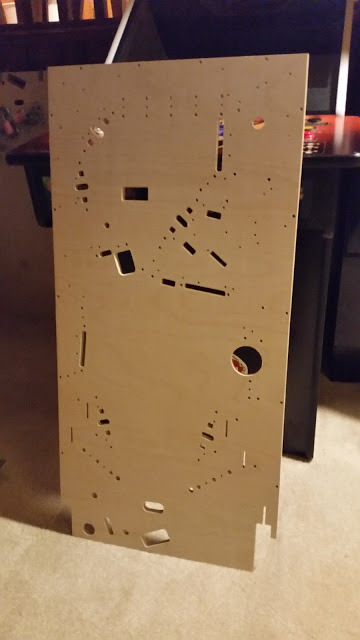
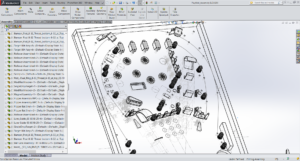
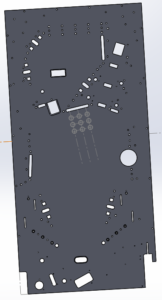
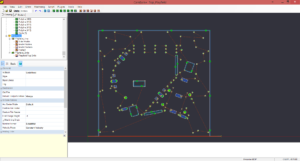
Step 1: Export the full DXF file of my playfield from SolidWorks.  You will notice in the 2 images below there are 2 little lines sticking out of the right and left side of the playfield.  These will be referenced in the next few steps.

 21

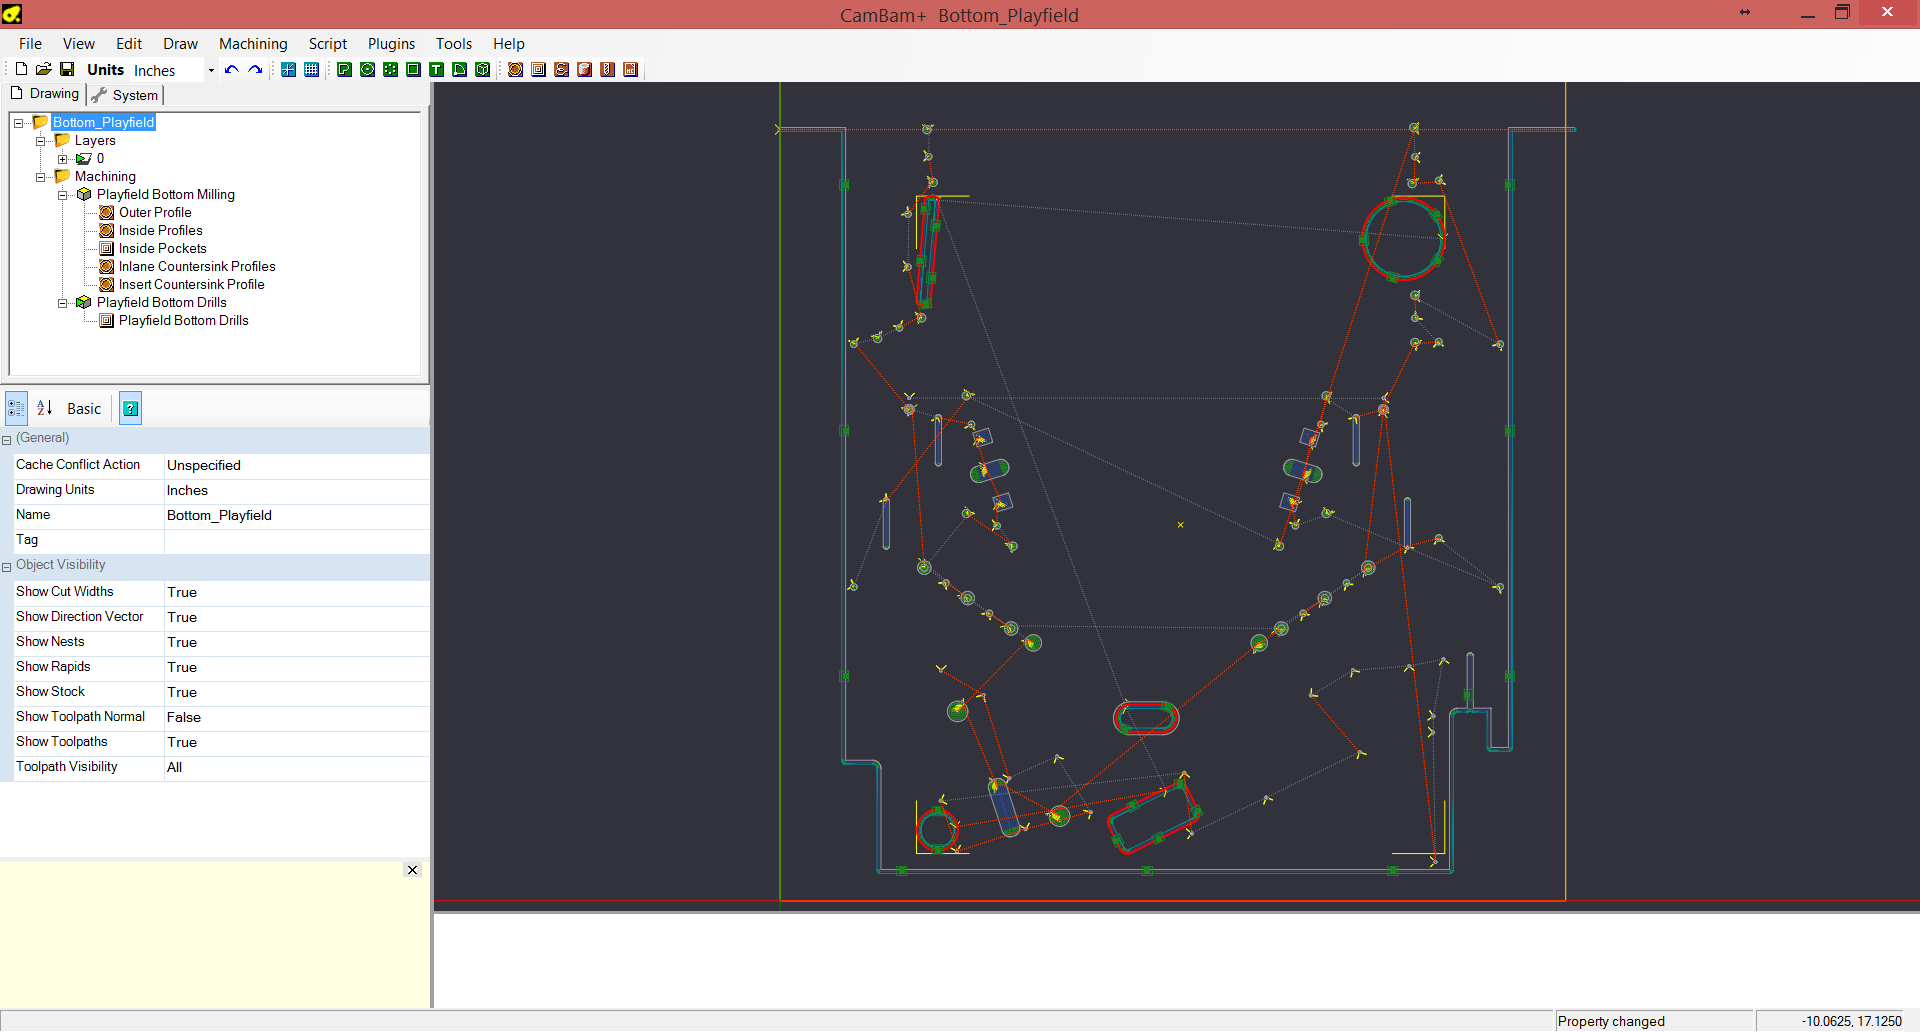
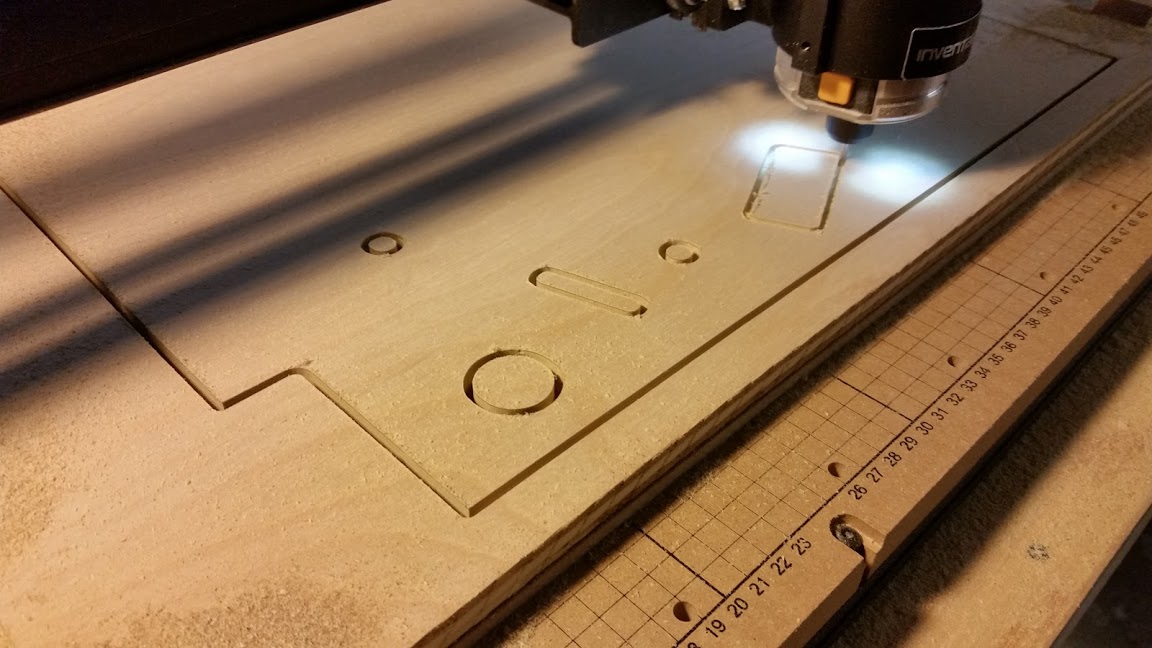
Step 2: Import the full DXF into my CAM program and delete all the lines and artifacts ABOVE the 2 guide lines.  I then program the CAM and save as “Playfield Bottom”.

3

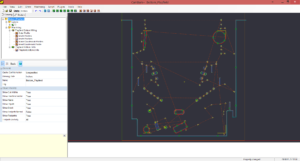
Step 3: Import the full DXF again to a new document and delete all the lines and artifacts BELOW the guide lines.  I then program the CAM and save as “Playfield Top”.

4

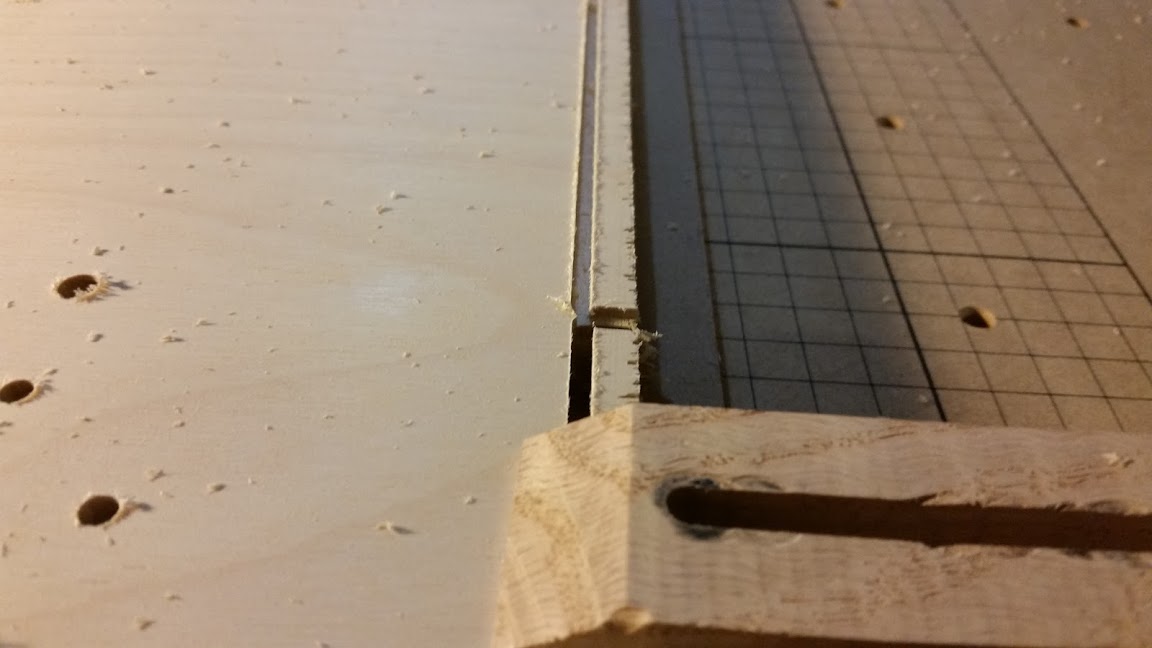
Step 4: It is important to make sure that the X (left/right) axis is the same for both the top and bottom playfield.  I ensure this happens by setting my X axis to the tip of the left guide line.  This will ensure that the left and right positioning of the 2 cuts are parallel.

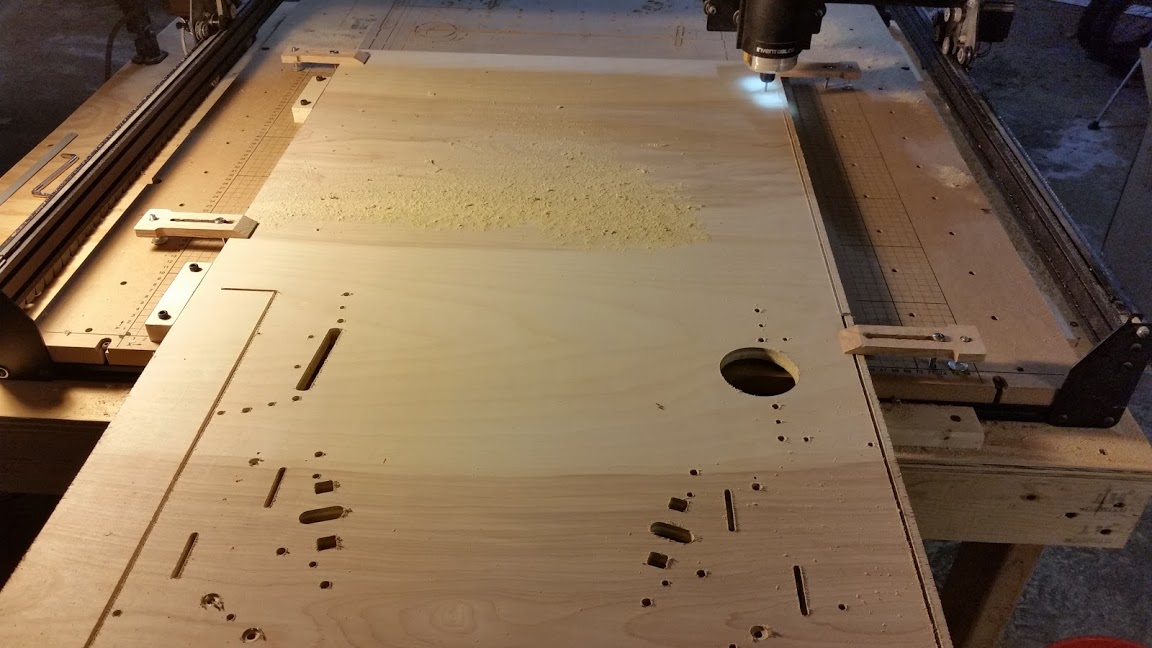
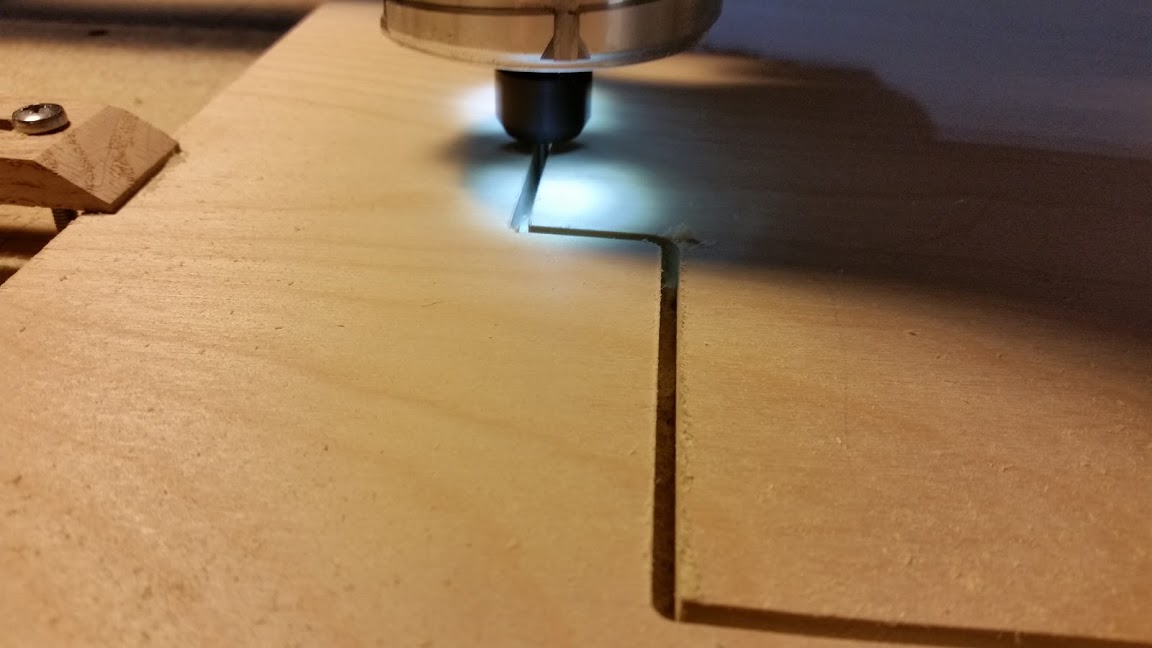
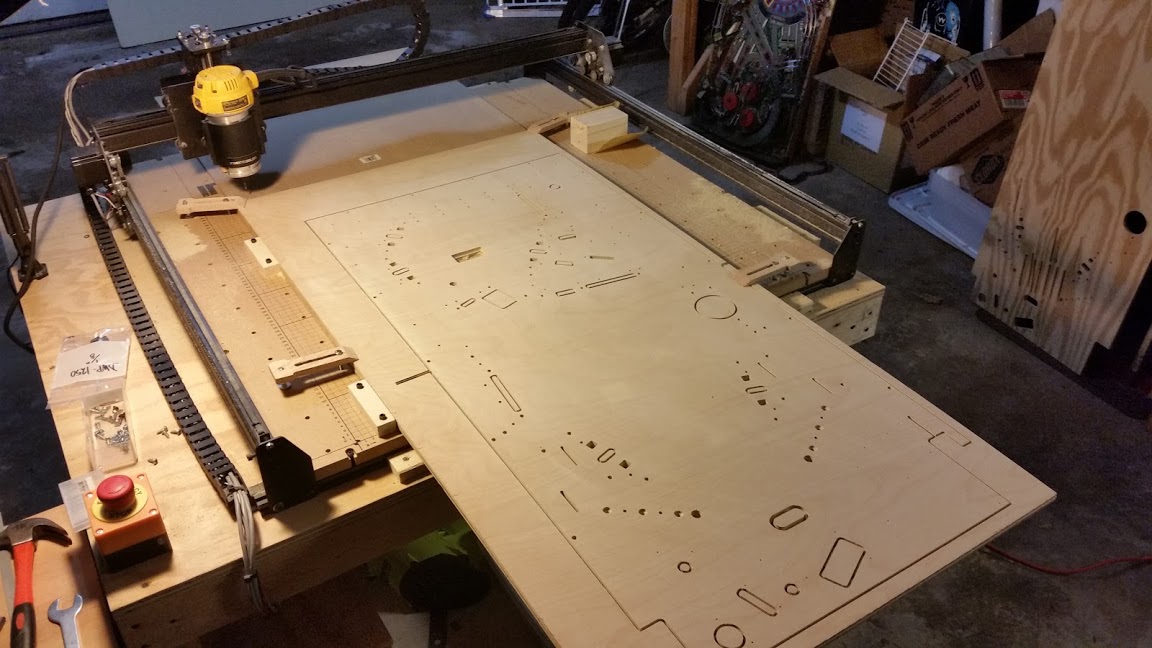
Step 5: Start cutting the bottom part of the playfield and return the machine to X0 Y0 when complete.

5

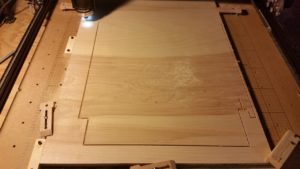
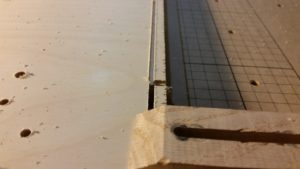
Step 6: Once the bottom part of the playfield is cut, I unlock and slide the stock down and align the tip of the left guide line to the center of the end mill bit.  Once I am happy with the Y alignment, I lock the stock back in place.  I then proceed to cut the top part of the playfield without resetting my X or Y axis in the software.  The machine will pick up where it left off and hopefully continue like it was all cut at once.  It is not perfect every single time, but it is damn close.

6 7

Step 7: Let the machine continue and do not set your beer by the Emergency Stop button.

Hey Everyone,

I just thought I would post up a few updated pictures of my Total Nuclear Annihilation pinball project.  I finally got the CAD/CAM programmed for version 1.0 of the full playfield.  I was able to get it cut this weekend and started populating the playfield.  I also dabbled a bit with the art to come up with the feel of the future art.

Enjoy!

TA Logo2

20151219_172701

20151219_173445

20151219_183426

20151219_194622

20151219_213113

20151220_134532

20151220_160419

 20151220_190710

Hey Everyone,
The time has finally come for me to create a Pinball Machine of my own design from the ground up. I will be posting progress updates here.

So, a little bit of overall info about the project… I will be making a single level Classic Bally style game that will have fully updated electronics. The P3-ROC system will be used throughout this project. I plan to use integrating the existing displays, but may upgrade them to Alphanumeric to make communication with the player a bit easier. RGB LEDs will be used along with fully controllable GI.

As for the theme, this is where it gets interesting. The player will assume the role of the antihero where he/she will be trying to take down as many nuclear reactors as possible in a post-apocalyptic world. The player will need to destroy backup power generators, boron rods, coolant reserves, and battle the reactor core to meltdown. I currently do not have a name set in stone for the game, so I am open to suggestions, let me know what you think.

Below are a few pictures of the current status of the project. It looks like I am much further than I am.  The lower playfield is CNC’d so I can start experimenting with the physical layout.

Enjoy!

20151128_141538  20151128_173231 20151127_140649 20151129_175112

 c180b37d7bd9dce1cc3fef48d7468c19 59cead9f7d00f36526c4240bc46dc749