Hey Everyone,
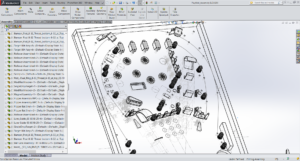
After populating my V1 playfield and testing a few things out, I discovered that my upper right kickback design was not very smooth and I just could not live with the design as it seemed amateur to me. I ended up replacing the upper right side of the design with some straight inline drops with a scoop behind them. I am going to do some really cool ball locking tricks with this setup and it will be much better than the original design. Below is a rendering of the upper section of the V2 playfield that I updated.
So on a separate note, I have gotten a bunch of questions on how the hell I am milling a full sized playfield on an X-Carve that is only capable of doing 31″ x 31″. The process is not that difficult. Here are the high level steps that I perform to get my playfields cut.
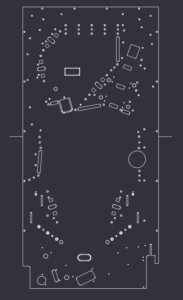
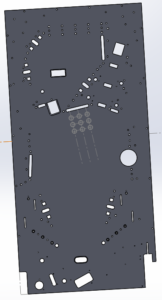
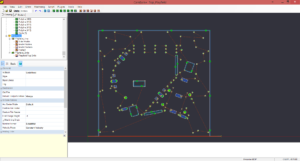
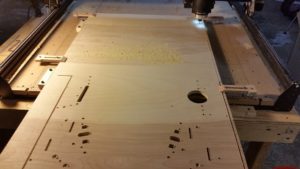
Step 1: Export the full DXF file of my playfield from SolidWorks. You will notice in the 2 images below there are 2 little lines sticking out of the right and left side of the playfield. These will be referenced in the next few steps.
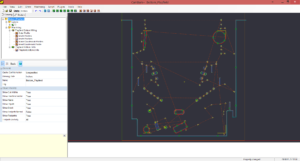
Step 2: Import the full DXF into my CAM program and delete all the lines and artifacts ABOVE the 2 guide lines. I then program the CAM and save as “Playfield Bottom”.
Step 3: Import the full DXF again to a new document and delete all the lines and artifacts BELOW the guide lines. I then program the CAM and save as “Playfield Top”.
Step 4: It is important to make sure that the X (left/right) axis is the same for both the top and bottom playfield. I ensure this happens by setting my X axis to the tip of the left guide line. This will ensure that the left and right positioning of the 2 cuts are parallel.
Step 5: Start cutting the bottom part of the playfield and return the machine to X0 Y0 when complete.
Step 6: Once the bottom part of the playfield is cut, I unlock and slide the stock down and align the tip of the left guide line to the center of the end mill bit. Once I am happy with the Y alignment, I lock the stock back in place. I then proceed to cut the top part of the playfield without resetting my X or Y axis in the software. The machine will pick up where it left off and hopefully continue like it was all cut at once. It is not perfect every single time, but it is damn close.
Step 7: Let the machine continue and do not set your beer by the Emergency Stop button.




someone’s been busy in solidworks :-0
Thanks for posting this Scott. I’m working on a machine and just got an X-Carve. Nice to see you doing a full playfield on your machine.